How to create a database user on Supabase
Create a dedicated Postgres role for BaseBuddy, grant access to mapped content tables, and test the new database URL safely.
BaseBuddy can connect with the default Supabase postgres database user, but that is usually broader than you want for a long-running production app.
A dedicated database user gives BaseBuddy its own username and password. That makes access easier to rotate, easier to audit, and easier to limit to the schemas and tables BaseBuddy actually edits.
Before you start
Use an admin credential to create the dedicated role. The dedicated runtime user is for the running app after setup.
If this is a production database, take a backup or snapshot before changing roles or grants. How to back up before upgrades covers the same safety habit for BaseBuddy changes.
You also need to know which content tables BaseBuddy will edit. If you have not mapped your project yet, start with the smallest table set you know you need, such as posts, authors, categories, tags, media, and files. You can grant more tables later.
Open a SQL query
In Supabase, open the project that stores the content tables BaseBuddy will edit. Then open the query editor and create a new query.
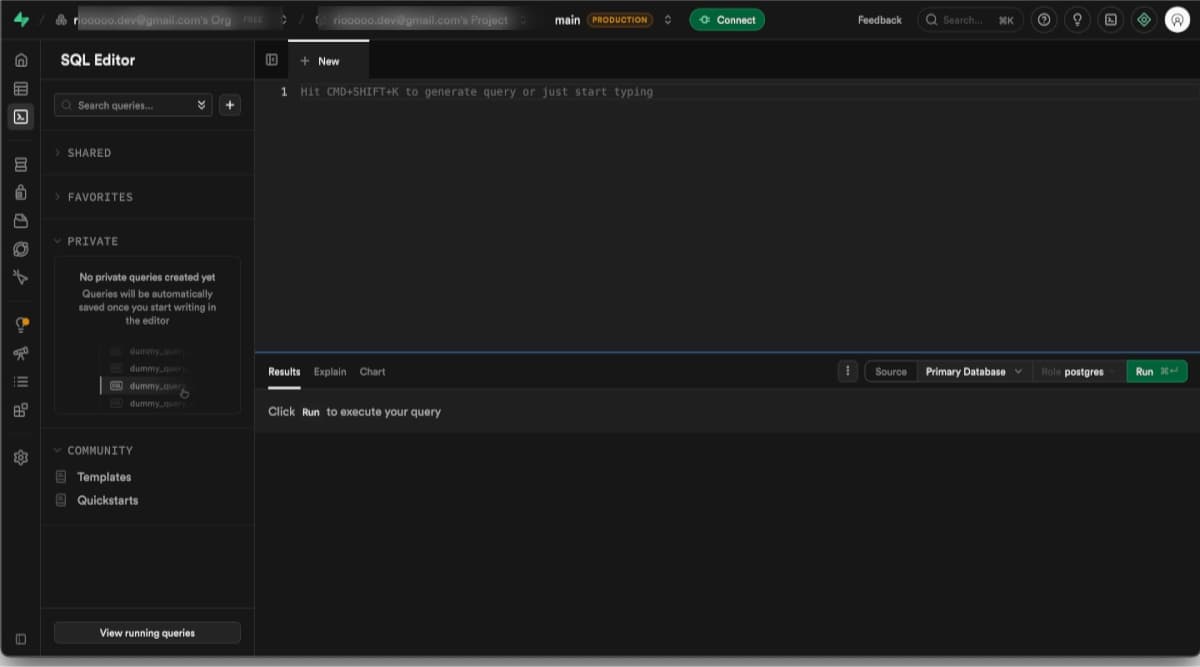
If this is a production database, take a backup or snapshot first. The SQL in this guide creates a user and grants permissions; it does not rename or reshape your content tables.
Create the role
Create a login role with a strong password. Replace the role name and password before running it.
sqlcreate role basebuddy_app
  with login
  password 'replace-with-a-long-generated-password';
Use a password manager for the password. If the password contains characters like @, :, /, ?, #, or %, you must URL-encode the password before placing it inside a Postgres connection string.
Allow database connection
Most Supabase projects use the database name postgres.
sqlgrant connect on database postgres to basebuddy_app;If your connection string points to a different database name, grant access to that database instead.
Allow access to the schema
Grant access to the schema that contains the tables BaseBuddy will map. Most Supabase projects use public.
sqlgrant usage on schema public to basebuddy_app;If your content lives in another schema, grant that schema too.
sqlgrant usage on schema content to basebuddy_app;Do not grant every schema automatically. Start with the schemas BaseBuddy needs for the project you are setting up.
Grant table access
Grant access to the tables BaseBuddy should read and edit.
This example covers a common project mapping:
sqlgrant select, insert, update, delete on table
  public.posts,
  public.authors,
  public.categories,
  public.tags,
  public.media,
  public.files
to basebuddy_app;
Adjust the table list to match your database. If BaseBuddy should only read a table, grant select only.
For example, if authors are managed somewhere else:
sqlgrant select on table public.authors to basebuddy_app;BaseBuddy can only show and edit what the database user can access. If a table does not appear in mapping, check schema usage and table select first.
Grant sequence access if BaseBuddy inserts rows
Tables with serial, bigserial, or identity columns use sequences behind the scenes. If BaseBuddy may create rows in those tables, grant sequence access.
For all sequences in public:
sqlgrant usage, select, update on all sequences in schema public to basebuddy_app;For a tighter setup, grant only the specific sequences used by mapped tables.
Decide how future tables should work
If your team frequently adds new content tables and you want BaseBuddy to access them automatically, add default privileges.
sqlalter default privileges in schema public
  grant select, insert, update, delete on tables to basebuddy_app;

alter default privileges in schema public
  grant usage, select, update on sequences to basebuddy_app;
Skip this if you prefer to approve each table manually. Manual grants are safer when the same database has unrelated product, billing, auth, or analytics tables.
Check Row Level Security
Database grants are not always enough. If a mapped table has Row Level Security enabled, Postgres still checks RLS policies for this role.
You have three practical choices:
| Choice | Use it when |
|---|---|
Add RLS policies for basebuddy_app | You want Postgres to enforce an extra safety layer for BaseBuddy |
| Keep mapped content tables without RLS | BaseBuddy is the trusted internal editor for those tables |
| Use a broader trusted server role | You understand the risk and need server-side access that bypasses content RLS |
Do not disable RLS casually. If your production app depends on RLS, test BaseBuddy against one harmless table first and confirm reads and saves behave exactly as expected.
Put the new user in the database URL
Copy your Supabase database connection string, then replace the username and password with the new role.
For a direct connection, the username is usually just the role name:
txtpostgresql://basebuddy_app:your-password@db.your-project-ref.supabase.co:5432/postgresFor Supabase pooler URLs, the username may include the project ref. If the original username looks like postgres.your-project-ref, change only the role part and keep the project ref:
txtpostgresql://basebuddy_app.your-project-ref:your-password@aws-0-region.pooler.supabase.com:6543/postgresUse the same host, port, and database name Supabase gives you. Only change the username and password.
Save the URL in .env or your production host env:
shBASEBUDDY_CONTENT_DATABASE_URL=postgresql://...The value is not written to basebuddy-data/basebuddy.config.json.
For the full connection guide, see How to connect your Supabase database to BaseBuddy.
Restart and run setup checks
After changing setup, rerun checks.
shpnpm basebuddy doctorThen run:
shpnpm setup:check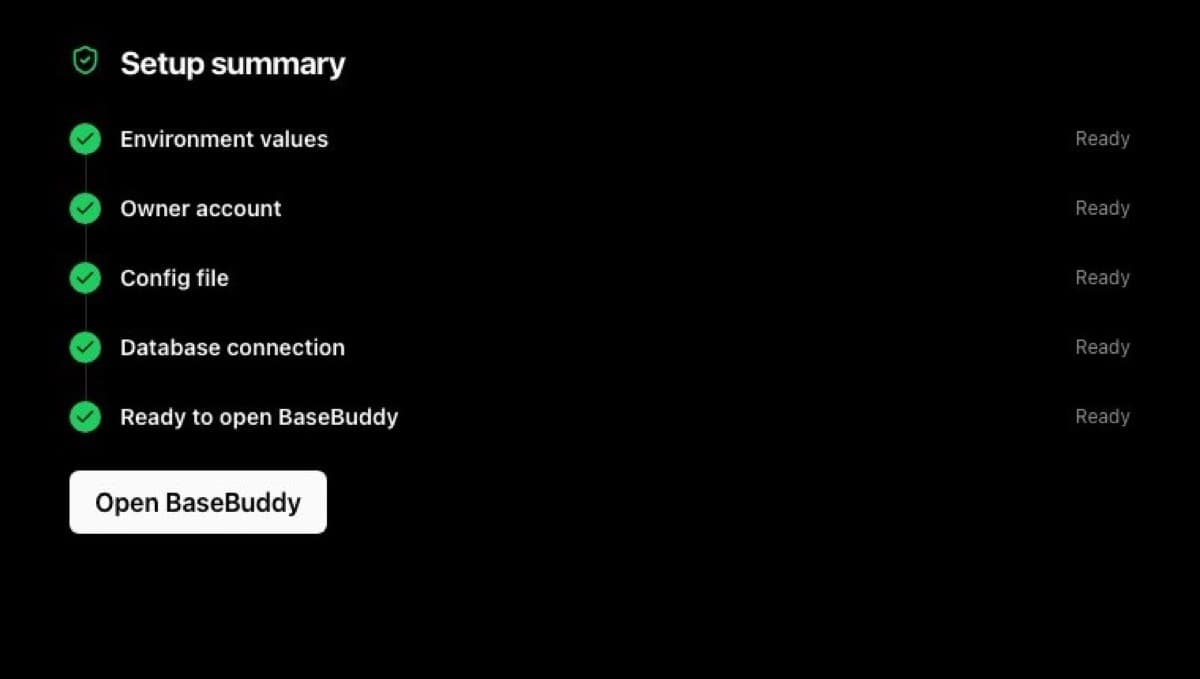
If setup checks passed before you switched users and fail after the switch, the new role probably needs more access or the connection string was edited incorrectly.
Test with one safe edit
Open BaseBuddy and test one harmless content change.
- Open a project.
- Go to Project Settings -> Content Mapping.
- Confirm BaseBuddy can see the schema and mapped tables.
- Open one content item.
- Change one small text field.
- Save.
- Check the database row and confirm only that field changed.
If mapping can see tables but saving fails, the role probably has select access but not update, sequence access, or the required RLS policy.
Common problems
| Problem | What it usually means | What to do |
|---|---|---|
| Database connection fails | Username, password, host, port, or database name is wrong | Recopy the Supabase connection string and replace only username/password |
| Mapping cannot see tables | Missing schema usage or table select | Grant schema usage and table select permissions |
| Save fails | Missing update permission or RLS blocks the role | Grant update or add an RLS policy for the role |
| Creating media/file rows fails | Missing insert permission or sequence access | Grant insert and the required sequence permissions |
| Password works in SQL but URL fails | Password has special characters that were not URL-encoded | Percent-encode the password in the connection string |
When this works, keep the SQL in your deployment notes. It gives you a clear record of which schemas and tables BaseBuddy can access.