How to customize permissions on BaseBuddy
Add a narrow permission allow or deny for a project member when the built-in role is close but not exact.
Use permission overrides when a project member's role is almost right, but one action should be added or blocked.
Start with the closest built-in role. Roles are easier to review later, and most access changes should happen in Project Settings → Members by opening the member's Manage access panel. Use Permissions only for a narrow exception.
Before you start
You need access to manage members and permissions for the project. In the default roles, owners and admins can manage normal member permissions.
Owners have extra safety controls. Only owners can change owner members or owner permissions, and only owners can grant or remove Delete project access. Admins cannot use overrides to cross those owner boundaries.
For the full role model, see Permissions and roles: how BaseBuddy handles them.
Choose role or override
Change the role when the person's main job has changed. For example, use Editor for someone who should edit and publish all content, Author for someone who should work only on assigned authored content, and Viewer for read-only access.
Use an override when the role is still the right starting point, but one permission needs a clear exception. For example, an editor who should edit all content but must not publish can stay an editor with publishing turned off in Permissions.
Do not use many overrides to build a hidden custom role. If several people need the same pattern, choose a role strategy your team can explain later.
Add or remove one permission
- Open the project.
- Select Project Settings in the sidebar.
- Open Permissions.
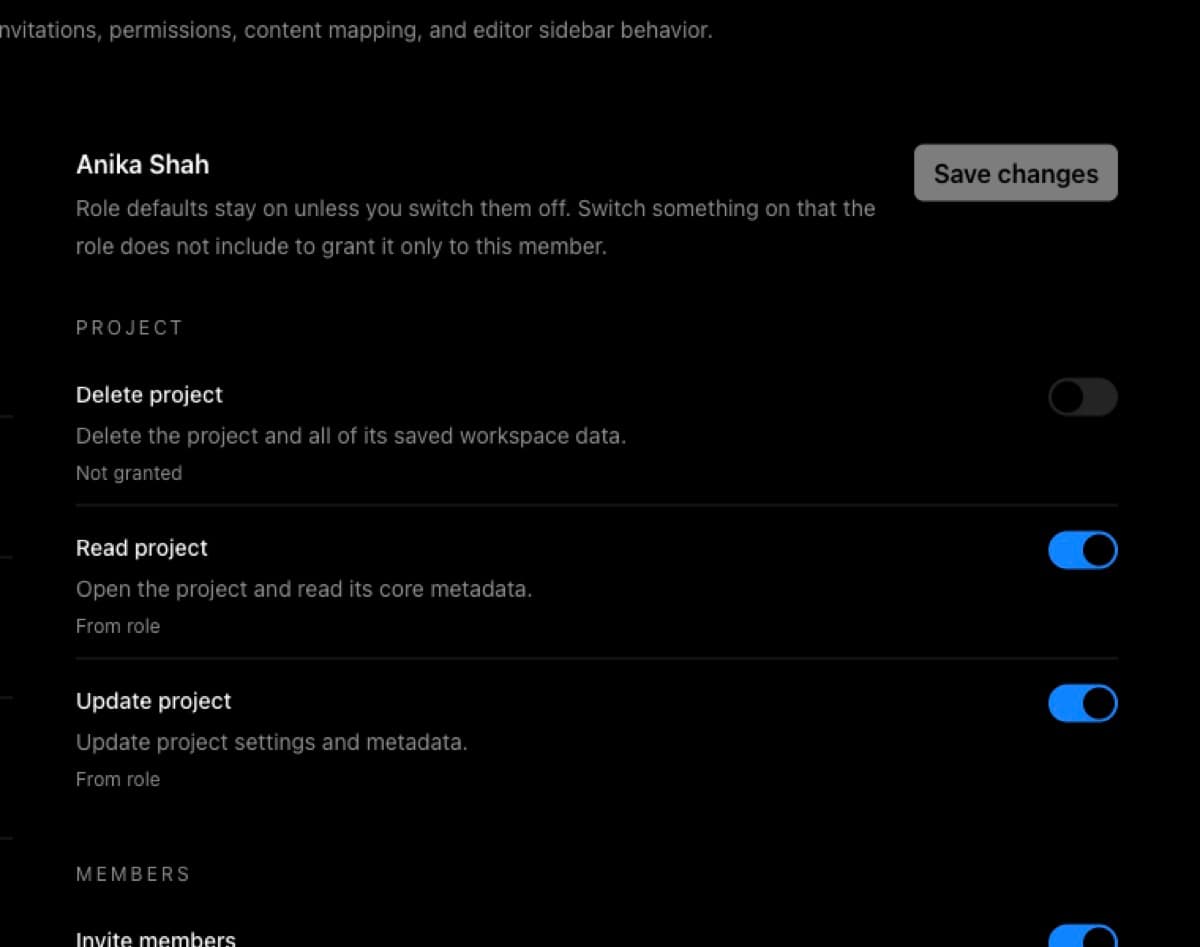
- In Members, select the member you want to update.
- Review their current role labels before changing anything.
- Find the permission under Project, Members, Mapping, Content, or Authors.
- Use the switch for the one permission you want to change.
- Review the status text under the permission.
- Select Save changes.
- Wait for BaseBuddy to show Permissions updated.
If you changed the wrong switch before saving, select Reset to return that member's permissions to the last saved state.
How the switch changes access
Each permission row shows how BaseBuddy is calculating that member's effective access.
| Status | Meaning |
|---|---|
| From role | The member gets this permission from their role. |
| Extra permission for this member | You turned on a permission their role does not include. This is an explicit allow. |
| Removed for this member | You turned off a permission their role includes. This is an explicit deny. |
| Not granted | The role does not include this permission, and no override adds it. |
Explicit deny wins. If a role includes a permission but the member has Removed for this member, BaseBuddy blocks that action for the member.
Publishing uses the same rule. If publish access is denied, the member cannot use Publish, Unpublish, or Archive, and cannot save a mapped status change that requires publish access. For the workflow behavior, see How to publish, unpublish, and archive content.
Keep owner boundaries intact
BaseBuddy protects owner access even when permission overrides are available.
Only owners can:
- Change owner members.
- Change owner permissions.
- Grant or remove Delete project access.
If an admin selects an owner in Permissions, the switches are disabled and BaseBuddy explains that only project owners can change owner permissions. If an admin selects Delete project for a non-owner member, BaseBuddy shows that only project owners can change delete access.
These limits prevent an admin from accidentally locking out the people responsible for the project or giving destructive project access without an owner.
Test the affected user
After saving an override, test with the member whose access changed, or with a test account that has the same role, overrides, and author scopes. Do not rely only on your owner or admin account.
- Sign in as the affected user.
- Open the project.
- Try the exact action you changed.
- Confirm actions with Removed for this member are blocked.
- If the change affects publishing, test Publish, Unpublish, Archive, and one normal save that changes mapped status.
- If the user has authored access, test assigned authored content and unrelated authored content.
If authored access is wrong, check author scopes before adding more overrides. Use How to assign author scope to a member for that flow.
If the result is not what you expected
Remove the override first, then check the base role. The role should still describe the person's normal project access.
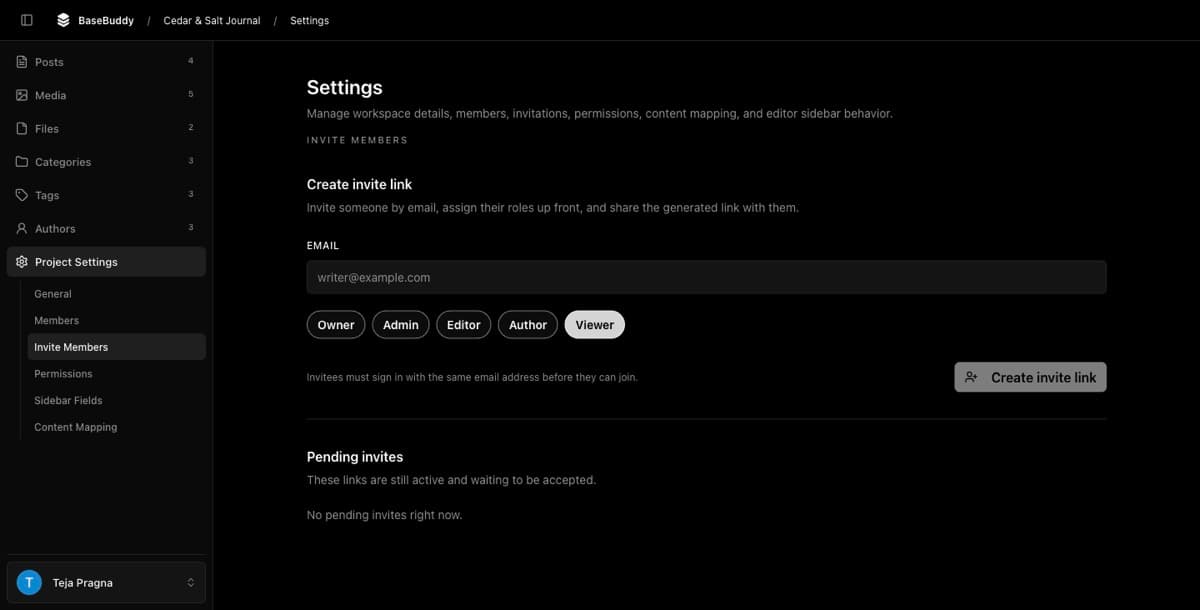
If the person needs a different main role, update them from Project Settings → Members instead. If they are not a member yet, create an invite with the right role and author scopes from Project Settings → Invite Members. See How to invite users to your BaseBuddy project.
Related guides
- Permissions and roles: how BaseBuddy handles them
- How to assign author scope to a member
- How to invite users to your BaseBuddy project
- How to publish, unpublish, and archive content