How to invite users to your BaseBuddy project
Create invite links, choose roles, add author scopes when needed, and manage pending invites.
Invite users when your project is ready for other people to open in BaseBuddy. You will create an invite link, choose the user's access, and share the copied link through a trusted channel.
Before inviting editors, make sure the saved mapping is working and at least one content item opens and saves correctly. If the user will publish, test Publish, Unpublish, and Archive first.
If the person should only work on content assigned to specific author records, review authors vs members before you invite them.
Who can invite users
Users need invite access for the project. In the default roles, owners and admins can create and revoke invite links.
Owners can invite users into any role, including Owner. Admins can manage members below owner and cannot assign the Owner role.
If you can open project settings but cannot create or revoke invite links, BaseBuddy shows a message that your current access cannot create or revoke invite links. Ask a project owner to update your access.
Create an invite
- Open the project.
- Select Project Settings in the sidebar.
- Open Invite Members.
- In Create invite link, enter the user's address in Email.
- Select one or more roles: Owner, Admin, Editor, Author, or Viewer.
- If you selected Author, choose at least one item under Author scopes.
- Use the Publish switch for each selected author scope only when this person should publish for that author.
- Select Create invite link.
- Send the copied link to the invited person through a trusted channel.
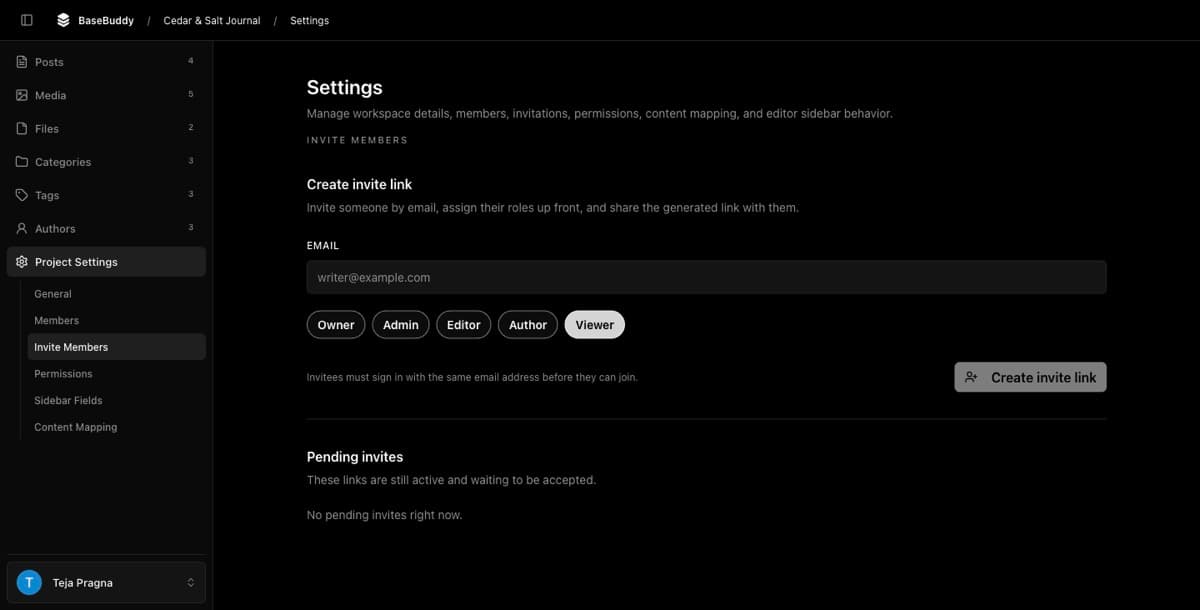
Self-host installs do not require BaseBuddy to send invite email. BaseBuddy creates the invite link in the app and copies it when possible; you share that link yourself.
Invitees must sign in with the same email address used on the invite. If they need help accepting it, send them How to accept a BaseBuddy invite.
Choose the right role
Start with the closest built-in role:
| Role | Use for |
|---|---|
| Owner | People responsible for the project, delete controls, and owner access |
| Admin | People who manage settings, mapping, members, content, and publishing |
| Editor | People who edit and publish all project content |
| Author | People who should work only on assigned authored content |
| Viewer | People who only need read access |
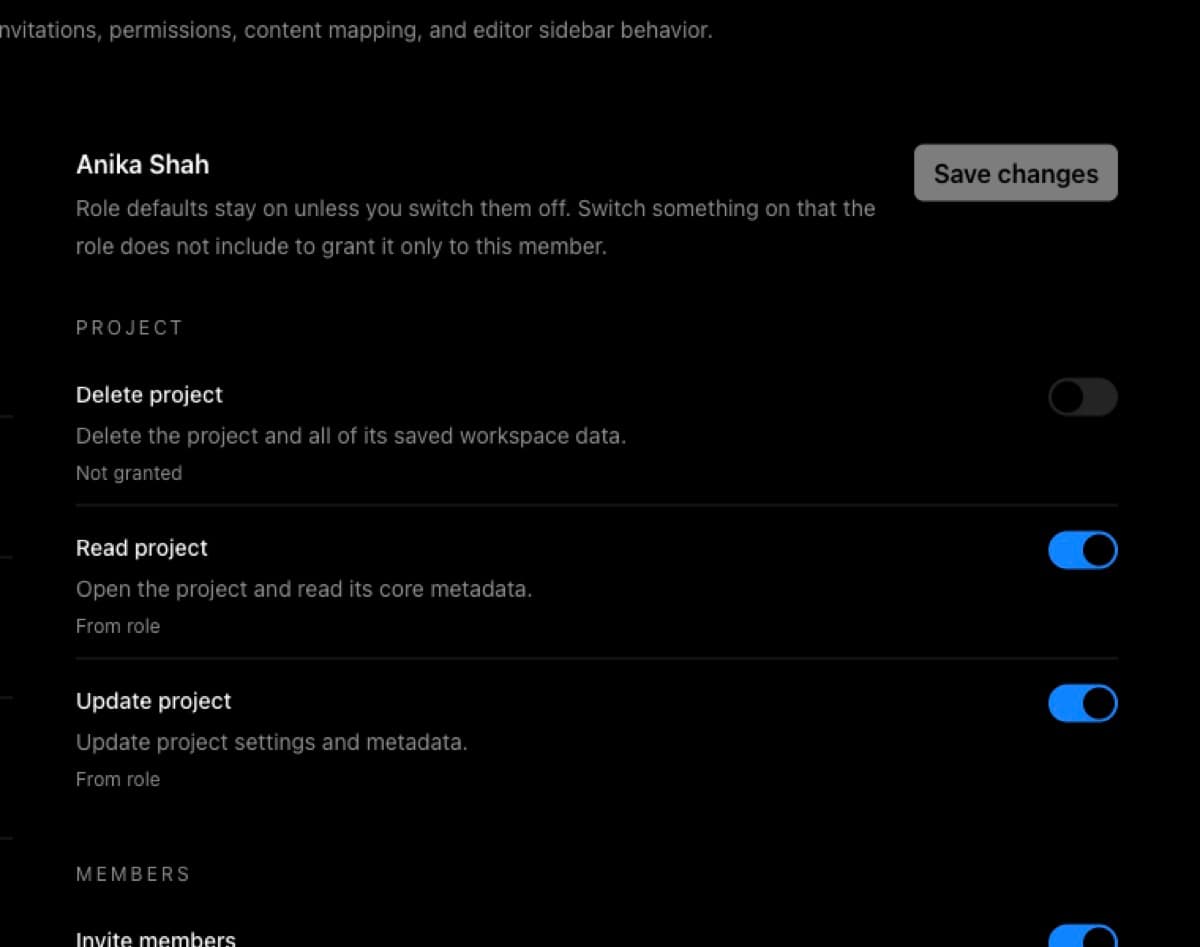
For more detail on what each role can do, use Permissions and roles: how BaseBuddy handles them. You can review fine-grained permission overrides from the permissions screen when a role is close but not exact; use How to customize permissions on BaseBuddy for that flow.
Add author scopes when needed
Author scopes are only relevant when the invite includes the Author role.
Use them when a contributor should read, edit, or publish content for selected author profiles instead of the whole project. Select at least one author profile for an Author invite. For each selected author profile, use the Publish switch to decide whether that user can publish content for that author.
If no author profiles are available, set up author mapping first. Author scopes depend on the saved author mapping, so do not use them until BaseBuddy can connect posts to the correct author records.
What the invite link does
BaseBuddy creates an invite link in the app and copies it when possible. Self-host installs do not require BaseBuddy to send invite email.
Send the link yourself through your team's normal communication tool. Treat it like access to the project, even though the invite is reserved for the invited email address.
When the recipient opens the link, BaseBuddy shows the project, invited email, roles, author scope count, expiry date, and current signed-in account. The recipient can accept only when signed in with the invited email. If they are signed out, BaseBuddy sends them through the normal sign-in flow and returns them to the invitation.
Invite links expire after 14 days.
Make sure invite sign-in returns to the invite page before you rely on it for a team rollout. Use How to verify BaseBuddy sign-in setup if invite sign-in does not return to BaseBuddy.
Pending invites
The Pending invites table shows active invites that have not been accepted, revoked, or expired. It includes:
| Column | Meaning |
|---|---|
| The invited email address | |
| Access | The selected roles and any author scopes |
| Expires | When the link stops working |
| Actions | Copy link or Revoke |
Use Copy link if the invited person needs the link again. There is no separate resend action in the current UI.
Use Revoke if the wrong email, role, or author scope was selected, or if the invite should no longer be usable. After revoking, create a new invite if the person still needs access.
Fix common invite issues
If Create invite link is disabled, check these first:
| What to check | What to do |
|---|---|
Email is empty or invalid | Enter the exact email address the person will use to sign in. |
| No role is selected | Select at least one role. Most invites should use Editor, Author, or Viewer. |
Author is selected without Author scopes | Select at least one author scope, or remove the Author role. |
| You do not have invite access | Ask an owner to update your role or permissions. |
If BaseBuddy shows that the email already has a pending invitation, use Copy link from Pending invites instead of creating another invite. If the person is already a member, review their access from the Members or permissions screen.
If the invite link is expired or revoked, create a fresh invite and share the new link. A revoked invite cannot be restored.
If the recipient sees the wrong signed-in account, they must switch accounts and sign in with the invited email address. Send them How to fix a BaseBuddy invite opened with the wrong account.
How to verify
Ask the invited person to accept the invite and sign in with the invited email. Then confirm they can see the project and only the actions their role and author scopes allow.
For author-scoped users, test with assigned and unassigned authored content. For publishing access, test Publish, Unpublish, Archive, and one normal save that changes mapped status.