How to insert images into a post
Add body images from the Media library and understand how that differs from the separate Featured Image field.
Use this guide when you want to add an image inside an editable post body.
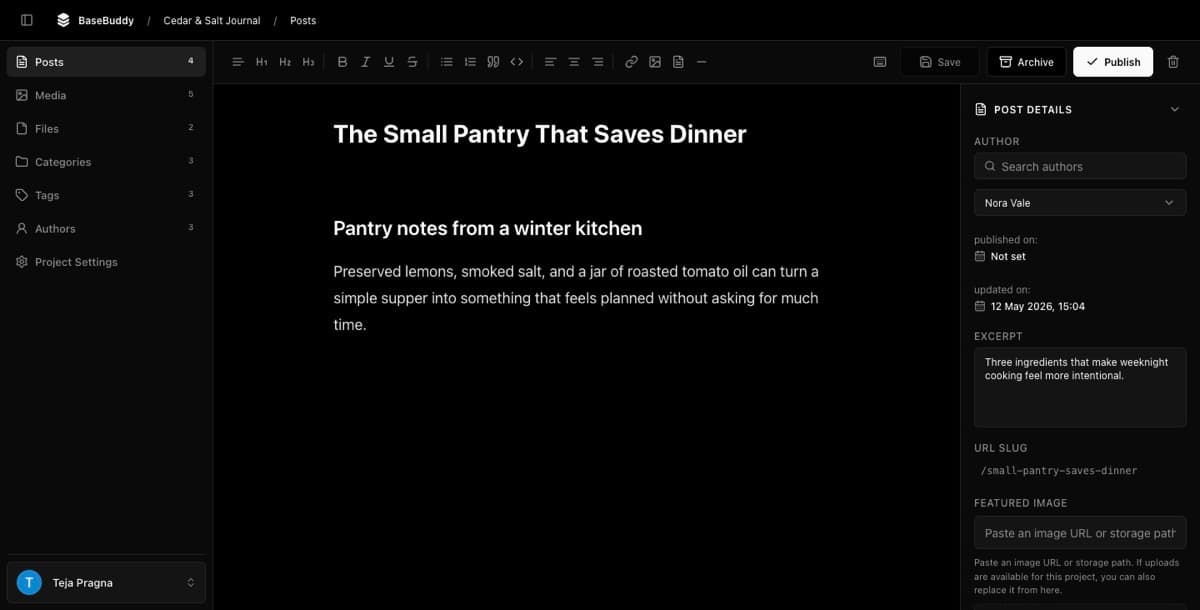
BaseBuddy inserts body images from the project's mapped Media library. The image is written into the body field you are editing, and the database is not updated until you click Save or Update.
Before you start
The project needs a saved posts mapping and a mapped media library. If the Image action is missing or disabled, check the media mapping before trying to edit around it.
Media accepts avif, gif, jpeg, jpg, png, and webp. SVG is blocked in the media library because SVG can contain script-like behavior and external references.
Media images are limited to 10 MB per image, with up to 10 images per batch. BaseBuddy prepares a signed upload URL, then the browser uploads the bytes to Supabase Storage or the S3-compatible provider. Your provider, browser upload path, and any BaseBuddy multipart API path still need compatible limits. For the full storage reference, see Media and files and Caps and rate limits.
Open the Media library
- Open the project in BaseBuddy.
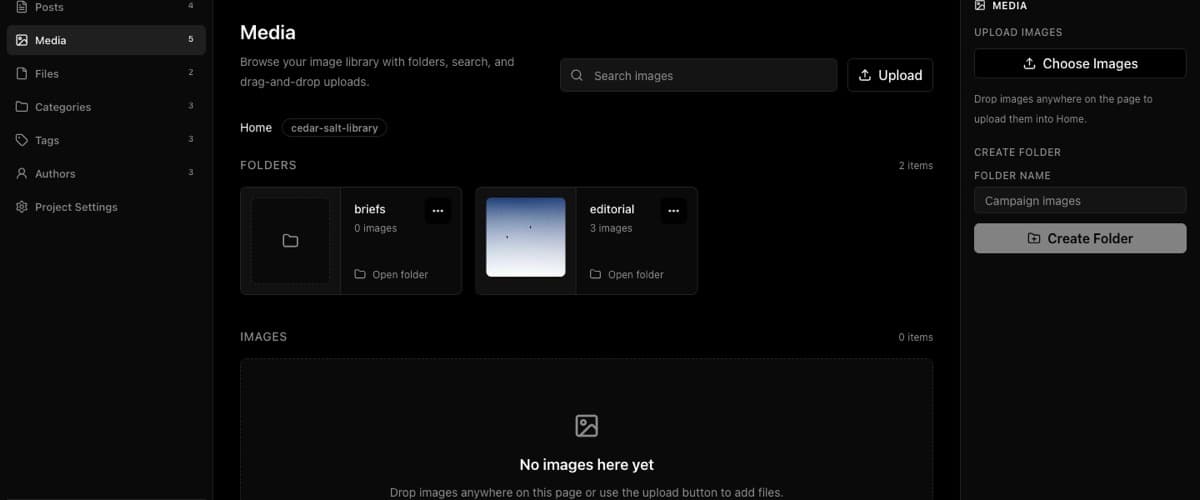
- Open Media.
- Search or browse to the image you want to insert.
- If the image is not there yet, click Upload or Choose Images, choose the image, and wait for the upload to finish.
Downloads and non-image attachments are managed from Files. Use How to insert files or downloads into a post when you want to add a document, archive, spreadsheet, or other downloadable file.
Insert the image into a post body
- Open the post you want to edit.
- Click inside the editable body field where the image should appear.
- Place the cursor where the image should go.
- Click Image in the toolbar, or type
/at the start of a blank block and choose Image. - Search or browse the media picker.
- Select the image.
- Click Insert image.
BaseBuddy inserts the image into the body field. If you need to adjust the surrounding copy, edit the body content around the image before saving.
For the broader editor controls, see How to use the editor toolbar and How to use slash commands.
Do not confuse body images with Featured Image
An image inserted into the body becomes part of the mapped content body. It appears wherever your site renders that body content.
Featured Image is a separate mapped field. Your site may use it as a card image, hero image, social preview image, or cover image, depending on your frontend. Setting Featured Image does not insert an image into the body, and inserting a body image does not change Featured Image.
If the Featured Image field is missing, read-only, or not connected to the field your site uses, review the posts mapping before changing production content. BaseBuddy should follow the saved mapping instead of guessing which image column, JSON path, relation, or asset reference your frontend expects.
Save the body change
Inserting an image makes the body field dirty. It does not publish, unpublish, archive, rename, move, or delete the image.
Click Save or Update when you are ready to write the dirty body change.
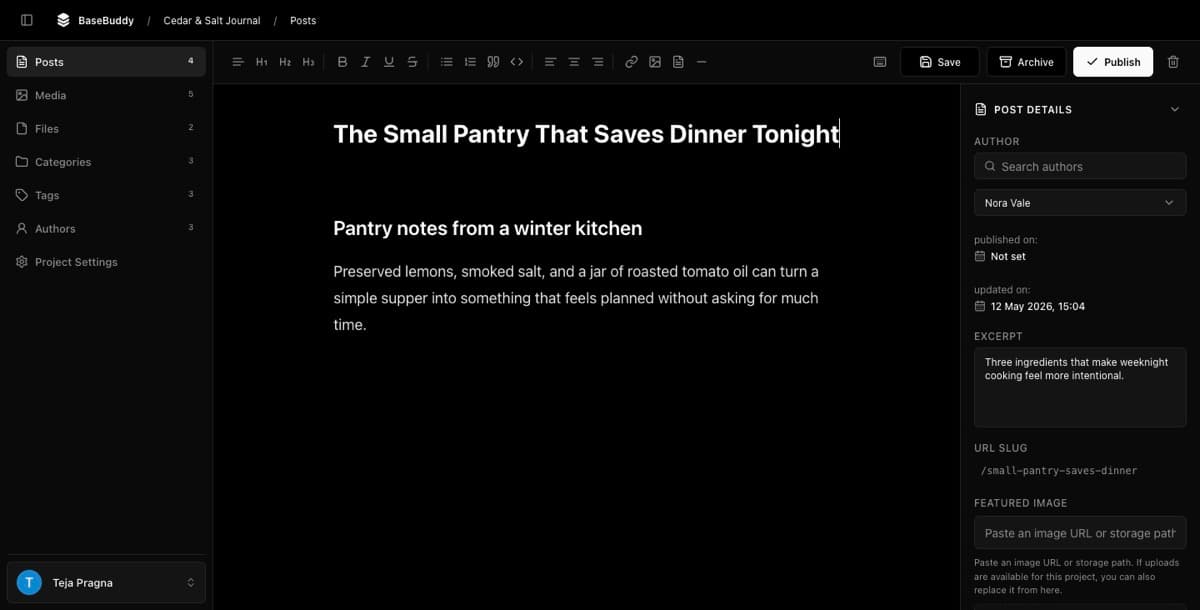
Normal Save and Update write dirty mapped fields only. If the only change you made was inserting an image in the body, BaseBuddy should write the mapped body storage target and leave unrelated mapped fields alone. It should not convert Markdown, HTML, JSON, arrays, media, files, relations, featured image references, or workflow status as a hidden side effect.
If your body field stores Markdown, HTML, JSON, or another specific shape, review How to map Markdown content safely before relying on rich formatting across many posts.
Verify the image
After saving:
- Reopen the same post.
- Confirm the image still appears in the body.
- Check the post on your site or preview, if your workflow has one.
- If this is a new mapping, inspect the row in Supabase or your database client and confirm only the body field changed, aside from trigger-owned audit fields your own schema controls.
- Confirm Featured Image changed only if you edited that field separately.
If your media library uses private storage, treat generated URLs as temporary. Do not promise editors that a signed URL copied from the library or editor is permanent, and do not share screenshots that expose private object paths or signed query strings.
For the underlying save rules, see Safe editing model.
If image insertion does not work
| Symptom | What to check |
|---|---|
| Image is missing | The project may not have a mapped media library |
| Image is disabled | Click inside an editable post body field, not a title, sidebar field, code block, or read-only field |
| Upload fails | Check image type, image size, storage mapping, storage credentials, provider limits, and host request body limits |
| The inserted image does not save | Confirm the body field is mapped as editable and the post has dirty changes |
| The image appears in BaseBuddy but not on your site | Confirm your frontend supports the stored body format and can load the image URL your media mapping produces |
| The cover or card image did not change | Edit Featured Image separately if your site uses that field for covers or cards |
| More than the body changed | Stop and review the saved mapping before editing more posts |
If the body field is read-only or unsupported, fix the mapping first. BaseBuddy should only write when the saved mapping gives it a safe storage target. Use How to fix a field showing as read-only when you need to review that state.
Related guides
- How to use the editor toolbar
- How to use slash commands
- How to insert files or downloads into a post
- How to safely edit your first post
- How to map markdown content safely
- Media and files
- Safe editing model