How to set up authors on BaseBuddy
Map author records and connect them to posts so bylines and author-scoped permissions work correctly.
Use this after your posts mapping is saved and you want BaseBuddy to understand who wrote each post.
Author setup has three parts:
- Map your existing author records.
- Verify the post Author field in the editor.
- Add author scopes to members or invites when someone should work only on assigned authored content.
Authors are content records in your database. Members are people who can sign in to BaseBuddy. They can refer to the same real person, but they are not the same record. For the full distinction, see Authors vs members: what is the difference?.
Before you start
Make sure Posts mapping is saved and one known post opens correctly in the editor. Author mapping depends on the saved posts mapping because BaseBuddy needs to know which table stores posts before it can connect those posts to author records.
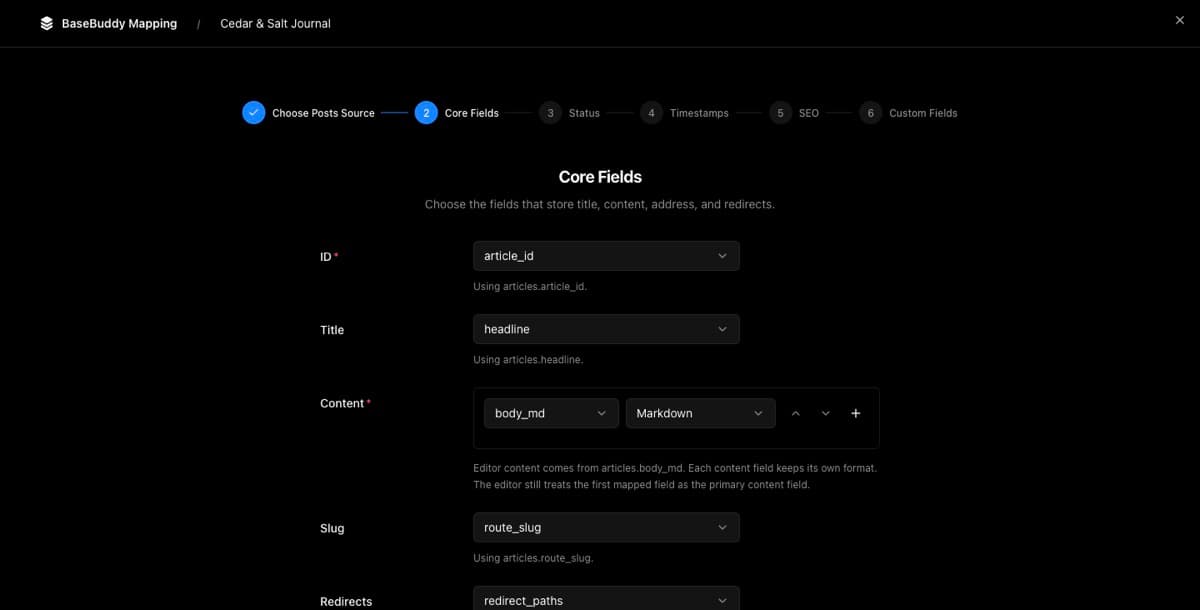
If you want a narrower walkthrough of the mapping step, use How to map authors to posts on BaseBuddy.
What BaseBuddy needs
BaseBuddy needs to know where author records live and how a post points to one of those records.
| What to map | Example |
|---|---|
| Post-side author assignment | posts.author_id, posts.writer_id, posts.author_slug |
| Author record fields | authors.name, authors.email, authors.bio, authors.slug |
Use a stable ID or unique value for the relationship. Use a readable field, usually Name, so editors can choose an author without reading raw IDs.
BaseBuddy does not create a new authors table, rename columns, or move byline data into BaseBuddy-owned tables. After you save the mapping, the saved mapping is the source of truth for reads, selectors, validation, and writes.
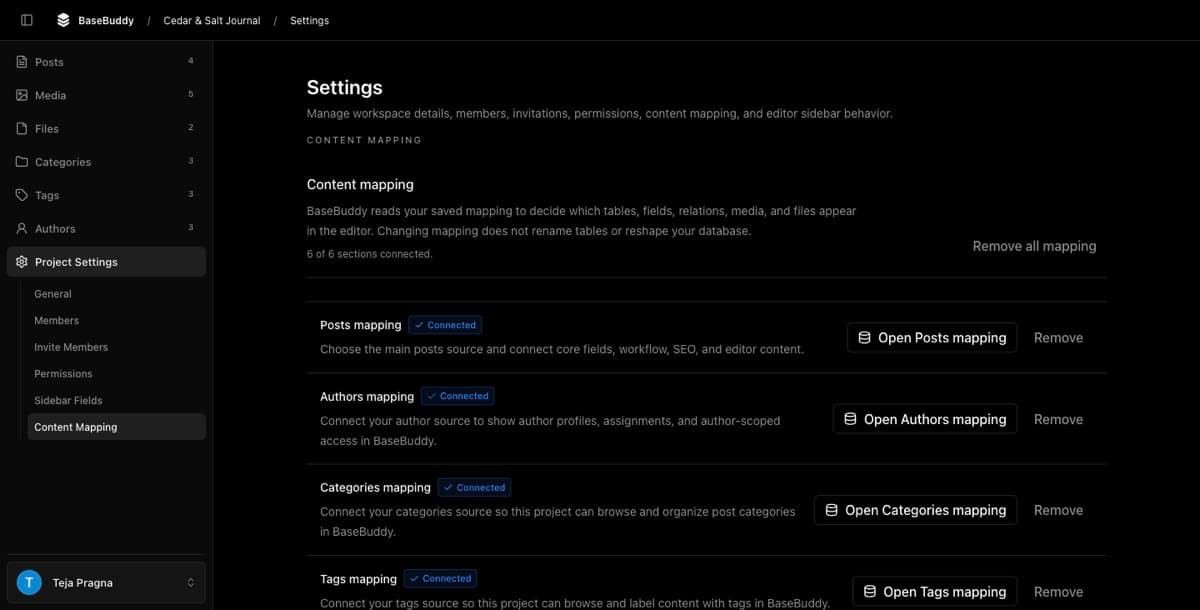
Open Authors mapping
- Open your BaseBuddy project.
- Select Project Settings in the sidebar.
- Open Mapping.
- Confirm Posts mapping is connected.
- Find Authors mapping.
- Select Open Authors mapping.
If the button says Map Posts first, finish and save Posts mapping, then return to Authors mapping.
Map the Author field
In the Authors mapping step, use Author to choose where the post stores its author assignment.
For the most common setup, choose the post column that points to your author table, such as author_id, writer_id, or profile_id.
If the author value is stored outside the post table, choose Stored in another table only when the mapping UI shows a safe connection path for your schema. For join-table or other multi-author shapes, map them only when the saved mapping and UI support that shape safely for your project. Do not use this page to assume generic multi-author editing.
If the column is generated, view-derived, trigger-owned, or unclear, leave the field skipped, read-only, or unsupported until the database owner confirms the safe write path. How to fix a field showing as read-only can help you review that state.
Map readable author fields
In Author fields, choose the fields editors should see for each author record.
| Author field | Good choices |
|---|---|
| Name | name, full_name, display_name, author_name, writer_name |
email, author_email, writer_email | |
| Bio | bio, about, description, summary |
| Slug | slug, handle, username |
The Name field is the most important because it makes the post editor selector readable. Email, bio, and slug are useful only if your team needs them for display or author management.
Save the mapping
- Select Finish.
- Review the Save content mapping? confirmation.
- Select Save mapping.
Team members with access to the project will be able to view and edit content from the sources you connected, so make sure the author source is the right content table before saving.
After saving, BaseBuddy reloads from the latest saved mapping. Normal Save writes only dirty mapped fields. Changing the author on a post should write only the mapped author assignment, not publish, unpublish, archive, reshape your tables, or convert the relation into another storage shape.
For more detail on the mapping model, see How mapping works on BaseBuddy.
Verify the post Author field
Open a post with a known author. The post sidebar should show Author with the expected author selected.
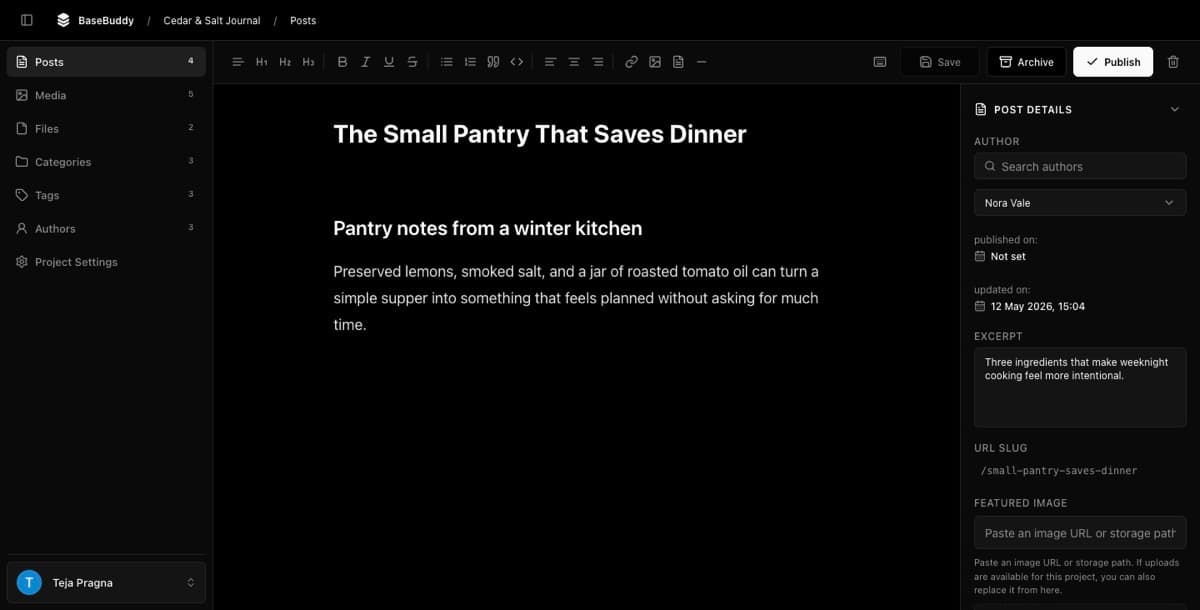
To test safely:
- Open a draft, internal test post, or another low-risk post.
- Change Author to another known author.
- Select Save.
- Inspect the same post in Supabase or your database client.
- Confirm only the mapped author assignment changed, aside from trigger-owned audit fields your schema controls.
If the wrong author appears, fix the author mapping before inviting author-scoped users. Author-scoped access depends on this relation being correct.
Manage author records
After author mapping is saved, owners and admins can use the Authors section to create, edit, delete, or assign author records that come from the mapped author source.
The Authors page includes fields such as Name, Slug, Email, and Bio when those fields are mapped. It also shows member assignment controls:
| Control | What it does |
|---|---|
| Member | Connects a BaseBuddy member to a content author profile. |
| Publish | Allows or blocks publishing for that assigned author scope. |
| Save | Saves the member assignment for that author. |
If BaseBuddy shows Members waiting for author setup, choose Assign existing author and Assign, or select Create author if the member needs a new content author profile.
Add author scopes to members or invites
Author scopes connect project members to author records. Use them when a contributor should work only on posts assigned to selected authors. Do not use author scopes as a replacement for roles or permissions; they work together.
For example, a member needs:
| Access piece | What it controls |
|---|---|
| Role or permission | Whether the member can view, edit, publish, or manage content. |
| Author scope | Which mapped author records the member is allowed to work with. |
| Post-author mapping | Which posts count as belonging to those author records. |
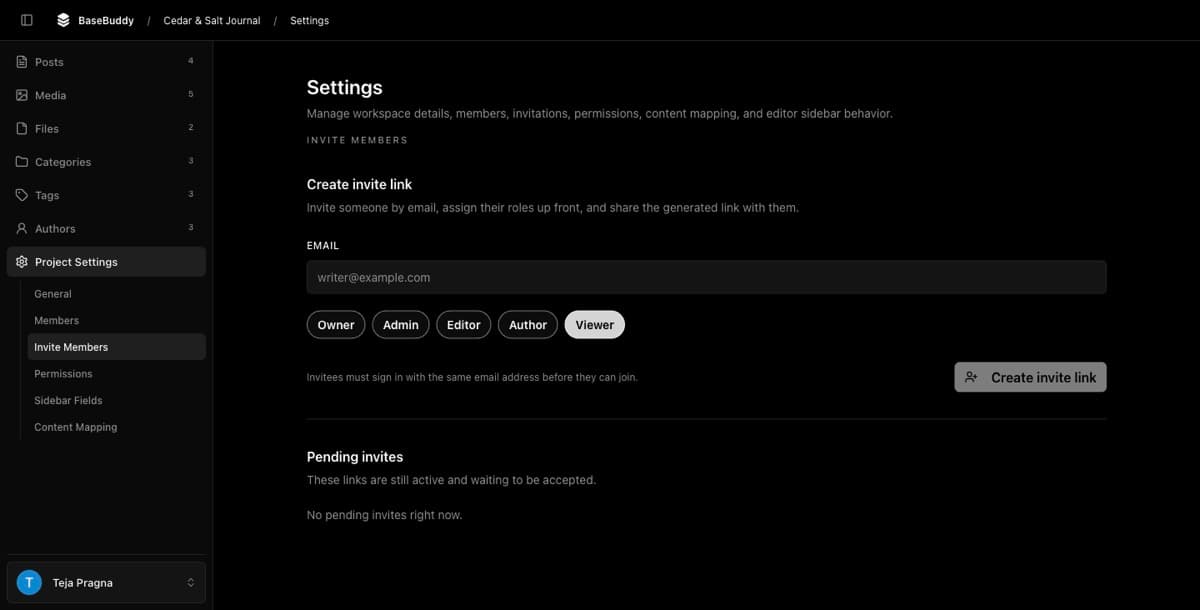
To add author scopes while inviting someone:
- Open Project Settings.
- Open Invite Members.
- Enter the user's email address.
- Choose the closest role. For contributor-specific access, choose Author.
- Under Author scopes, choose the author profiles this person can manage.
- Use the Publish switch only if the person should publish for that assigned author.
- Select Create invite link.
To update an existing member:
- Open Project Settings.
- Open Members.
- Select Manage access for the member.
- Choose the right role.
- Add or remove Author scopes.
- Use the per-author Publish switch as needed.
- Select Save access.
You can also review broader permission overrides from Permissions.
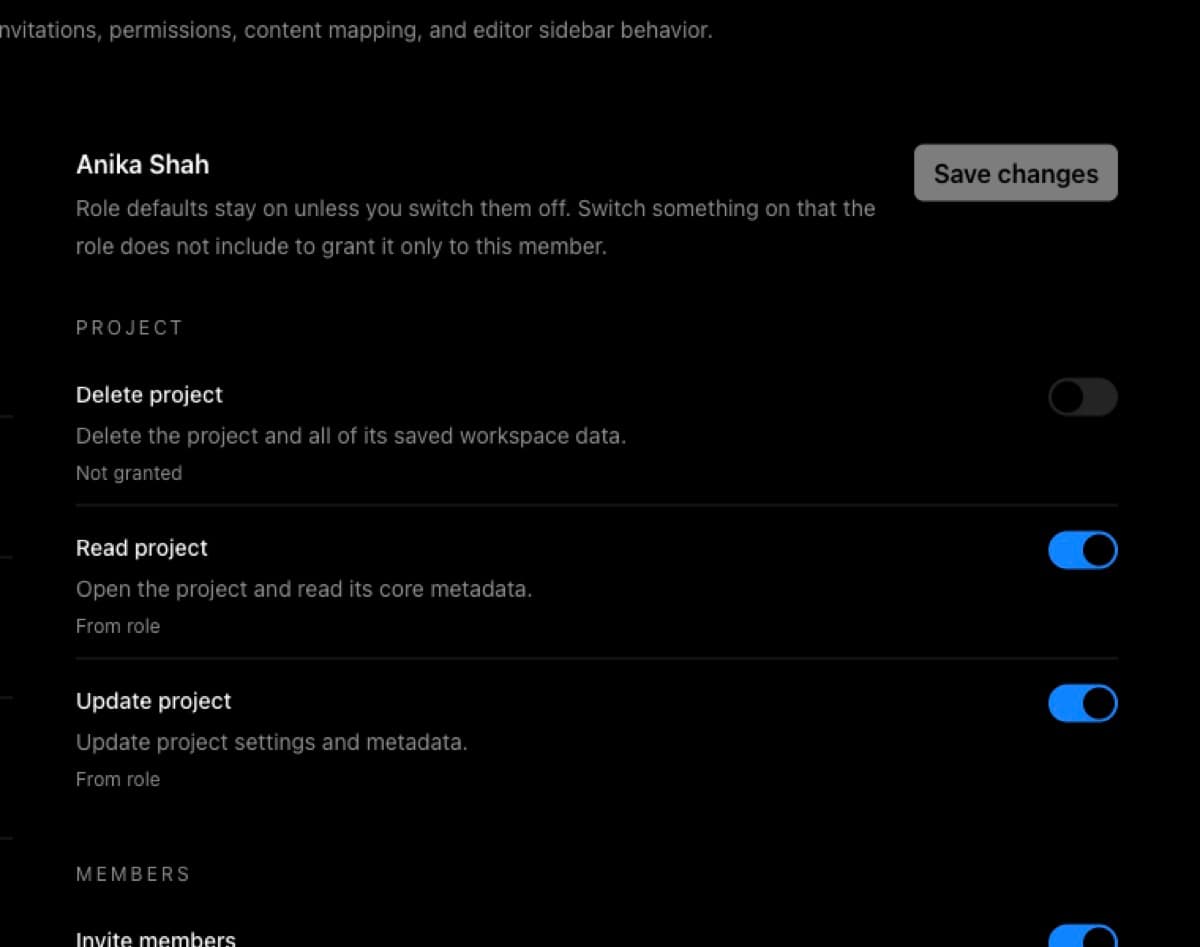
For the full invite flow, see How to invite users to your BaseBuddy project. For role behavior and owner boundaries, see Permissions and roles: how BaseBuddy handles them.
How to verify
Use a known post and a test member.
- Open a post that belongs to a known author.
- Confirm the author shown in the editor is correct.
- Assign a test member to that author scope.
- Sign in as the test member.
- Confirm the member can access assigned authored content.
- Confirm unrelated authored content is not available.
- If publish access is enabled, test Publish, Unpublish, Archive, and a normal save that changes status.
If verification fails, check the post-author relation first, then check the member role and author scope.
Related guides
- How to map authors to posts on BaseBuddy
- Authors vs members: what is the difference?
- How to invite users to your BaseBuddy project
- Permissions and roles: how BaseBuddy handles them
- How mapping works on BaseBuddy
- How to fix a field showing as read-only