How to set up BaseBuddy from UI or CLI
Create BaseBuddy app data with onboarding or the BaseBuddy CLI.
BaseBuddy setup creates app data for users, projects, mappings, permissions, sidebar settings, and invitations. The default backend is basebuddy-data/basebuddy.config.json in the folder where the app runs. You can also choose Supabase/Postgres app data during setup. Credentials stay in env.
Use App data storage options if you are not sure which backend to choose.
Use Onboarding
- Start BaseBuddy.
- Open
/onboarding. - Choose where to store BaseBuddy data.
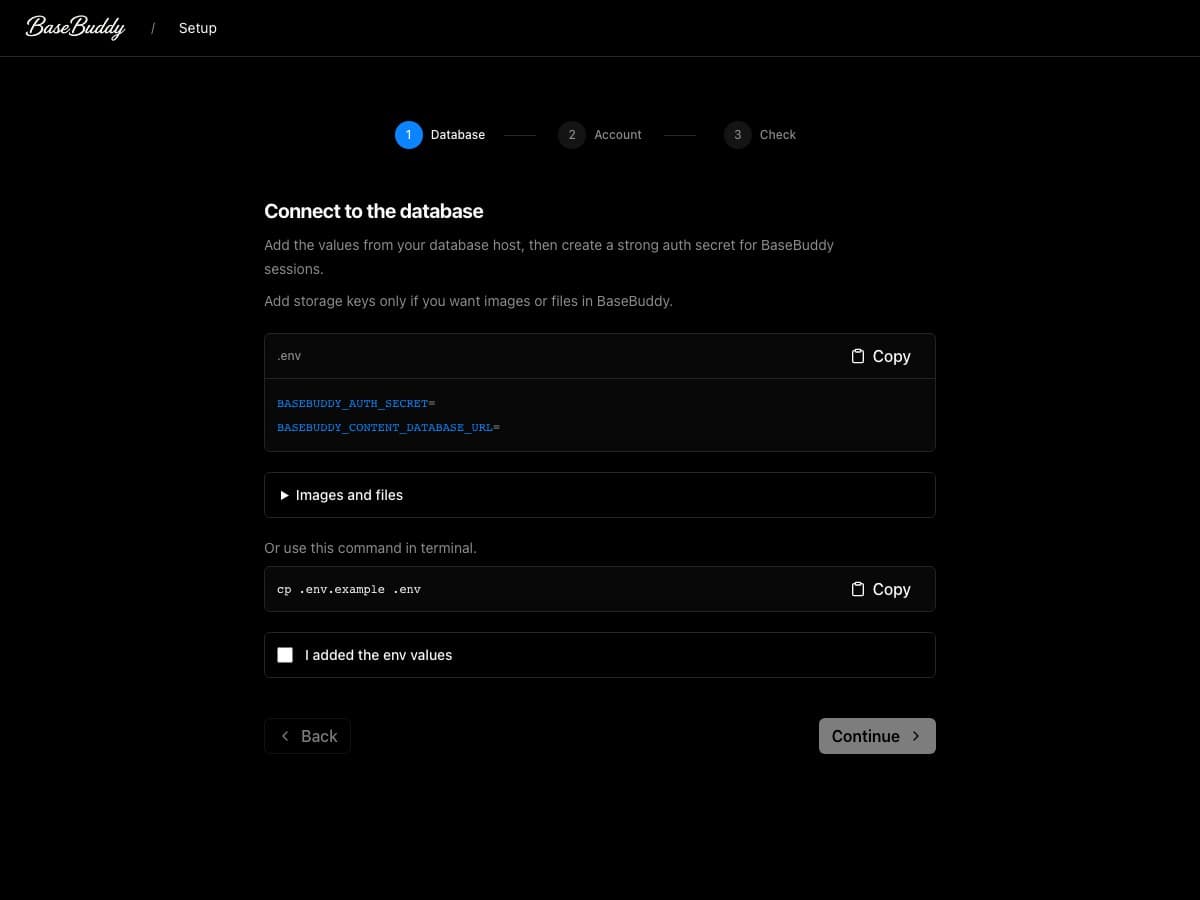
- On Connect to your database, add the required env values to
.envor your production host. - If you chose Supabase/Postgres app data, run the table setup commands shown on Prepare BaseBuddy data tables.
- Check I added the env values.
- Check I prepared the BaseBuddy data tables when that page appears.
- Continue to Create account on BaseBuddy.
- Enter the first owner name, email, and strong password.
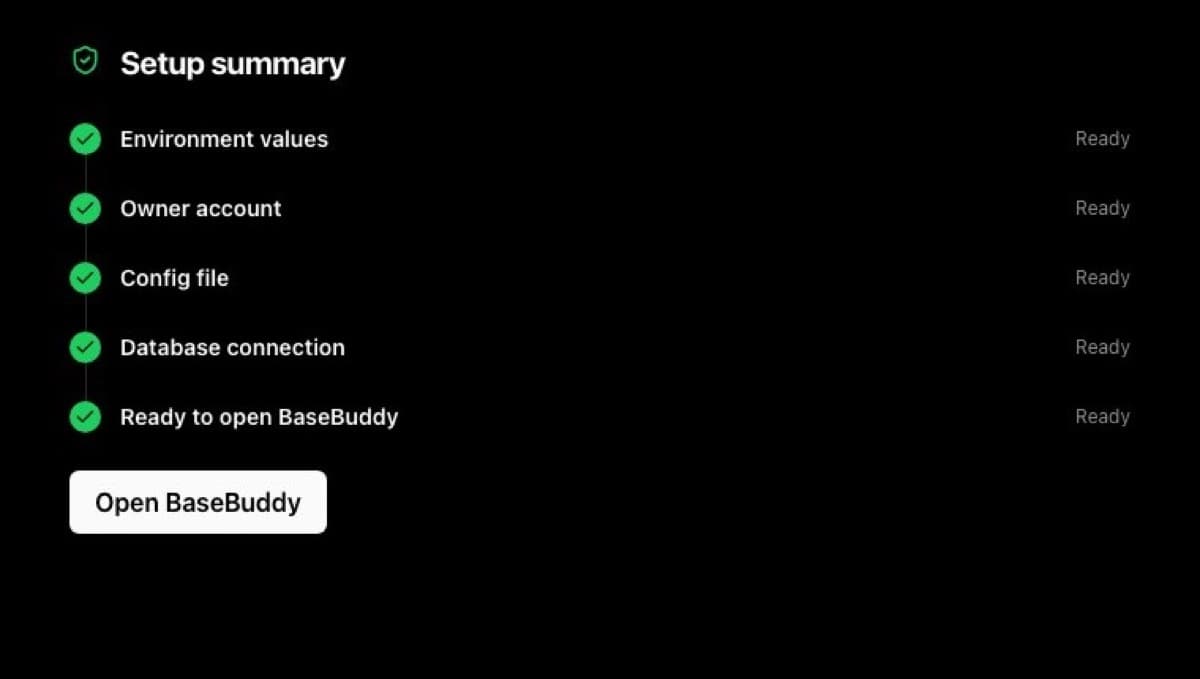
- Continue to Let's check the Setup now.
- Wait for the setup timeline to finish.
BaseBuddy writes the selected app-data backend, checks the real database connection, and shows Open BaseBuddy only after required checks pass.
Use CLI Setup
For Supabase/Postgres app data, prepare the BaseBuddy tables before creating the owner:
shpnpm basebuddy app-data:migrate
pnpm basebuddy app-data:check
If the role cannot create tables, print the SQL and run it in your database SQL editor:
shpnpm basebuddy app-data:sqlThen create the owner:
shpnpm basebuddy setup \
  --owner-email owner@example.com \
  --owner-name "Owner" \
  --owner-password "replace-with-a-strong-password"
Then check setup:
shpnpm basebuddy doctor
pnpm setup:check
After the first setup, agents and operators can keep using CLI commands for config-backed users, projects, members, invites, permission overrides, schema inspection, mapping drafts, mapping revisions, sidebar layout, and storage mapping metadata.
For agent-led project setup, start with:
shpnpm basebuddy agent:setup --json
pnpm basebuddy schema:inspect --schema public --json
pnpm basebuddy mapping:draft --schema public --table posts --json
pnpm basebuddy mapping:explain --input mapping.json --json
Use Agent CLI setup for the full workflow and CLI reference for every command.
Verify
Setup is ready when diagnostics show:
- app data exists, validates, and is writable;
- an owner user exists;
BASEBUDDY_AUTH_SECRETexists;BASEBUDDY_CONTENT_DATABASE_URLis configured and reachable.
BaseBuddy does not change your content tables during setup. Supabase/Postgres app-data mode creates only BaseBuddy-owned tables in the basebuddy schema.