How to create a BaseBuddy project
Add a project workspace for one existing content schema, then continue to mapping without changing your content tables.
When this helps
Use this after BaseBuddy setup checks pass and you need a workspace for a site, publication, app, or content area.
A project is the place where BaseBuddy stores mapping, members, permissions, sidebar settings, and editor configuration for one mapped content area.
Creating a project does not connect the editor to your content yet. It gives you the workspace where you will save the mapping next.
What creation does
Project creation creates BaseBuddy app rows for the project, your membership, your owner role, and an initial mapping draft.
It does not create, rename, reshape, migrate, or write to your content tables. Your existing Postgres or Supabase schema stays as it is.
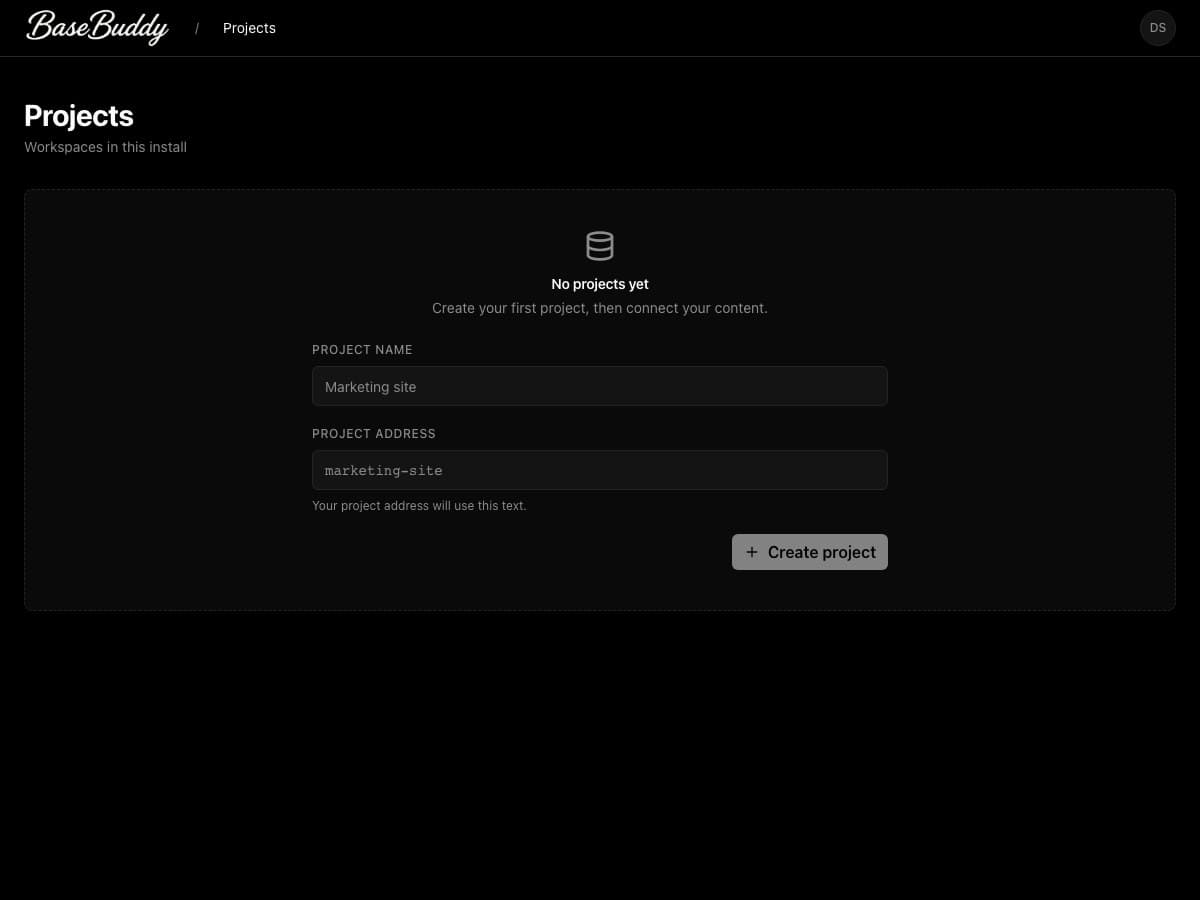
What you enter
Project creation asks for two fields:
| Field | Use |
|---|---|
| Project name | The display name editors see in BaseBuddy. |
| Project address | The stable address used in BaseBuddy project URLs, such as /projects/marketing-site. |
Use a name that matches the real content area, such as the publication, app, customer portal, or documentation site.
BaseBuddy suggests a project address from the name. You can edit it before creation. The address is normalized to lowercase URL-safe text, so spaces and punctuation become hyphens.
Steps
- Sign in to BaseBuddy.
- Open
/projects. - If you already have projects, click New project to jump to the creation form.
- Enter a clear Project name.
- Review the suggested Project address.
- Edit the address if you need a clearer or more stable URL identifier.
- Wait for BaseBuddy to check the address.
- When you see This project address is available., click Create project.
- Confirm BaseBuddy opens the new project at
/projects/[projectAddress].
The Create project button is enabled only after you enter a project name and BaseBuddy confirms the project address is available.
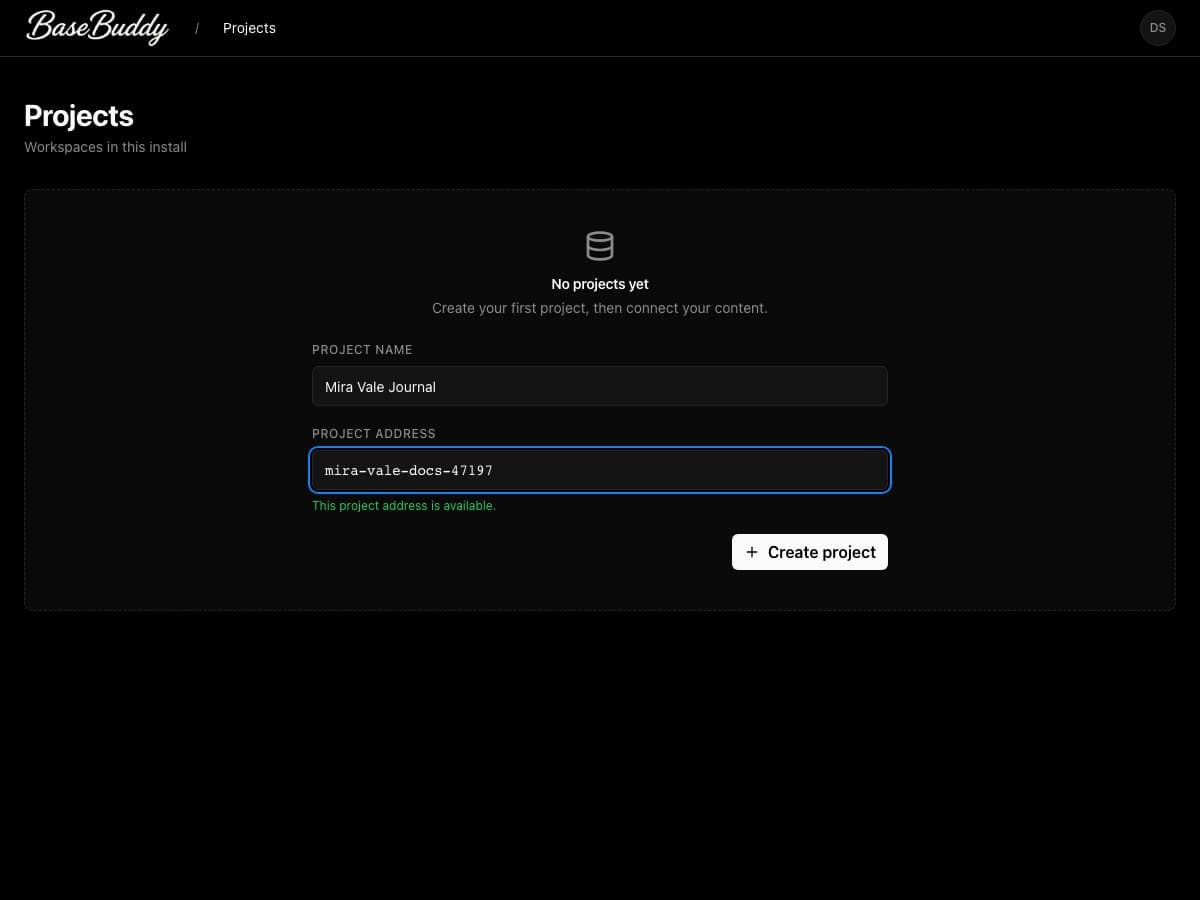
After creation
The project may open with an initial mapping draft or empty mapping settings. That is expected.
Map your primary posts, articles, pages, or entries table first. BaseBuddy cannot safely edit content until the saved mapping tells it which existing tables and fields should appear in the editor.
For the next step, use How mapping works on BaseBuddy, then follow How to map a posts table.
How to verify
After creation:
- Return to
/projects. - Confirm the new project appears with the expected name and project address.
- Open the project.
- Confirm you can reach the mapping or project settings area.
- Confirm no content table was created, renamed, reshaped, or edited as part of project creation.
If something goes wrong
If /projects sends you back to setup, finish the setup checks first. Use How to fix failed setup checks if a setup section is not ready.
If the address is already taken, choose a different Project address. The address must be unique in the BaseBuddy install because it is used in project URLs.
If the create action stays disabled, make sure Project name is filled in and wait for the address check to finish.
If project creation fails after you click Create project, check that you are signed in and that the install can write BaseBuddy app data.
For the full first-project rollout path, read How to onboard and get started with a BaseBuddy project.