How to map a posts table
Map your main posts table first, save the mapping, and verify the posts list and editor before adding related content.
Map your posts table first when you create a project, replace an incorrect mapping, or want to confirm BaseBuddy can safely edit your main content table.
BaseBuddy works with the tables and columns you already have. It does not rename your tables, reshape your schema, or install a standard CMS structure. After you save the mapping, BaseBuddy reads that saved mapping to build the posts list and editor.
Start with the smallest useful mapping, save it, and test one harmless edit before adding authors, categories, tags, media, or extra fields.
If you are automating setup with an agent, the CLI can inspect your schema, draft mapping JSON, explain the draft, and save the final mapping. Use Agent CLI setup for the full command path, and use this page when you want to understand the choices behind the mapping.
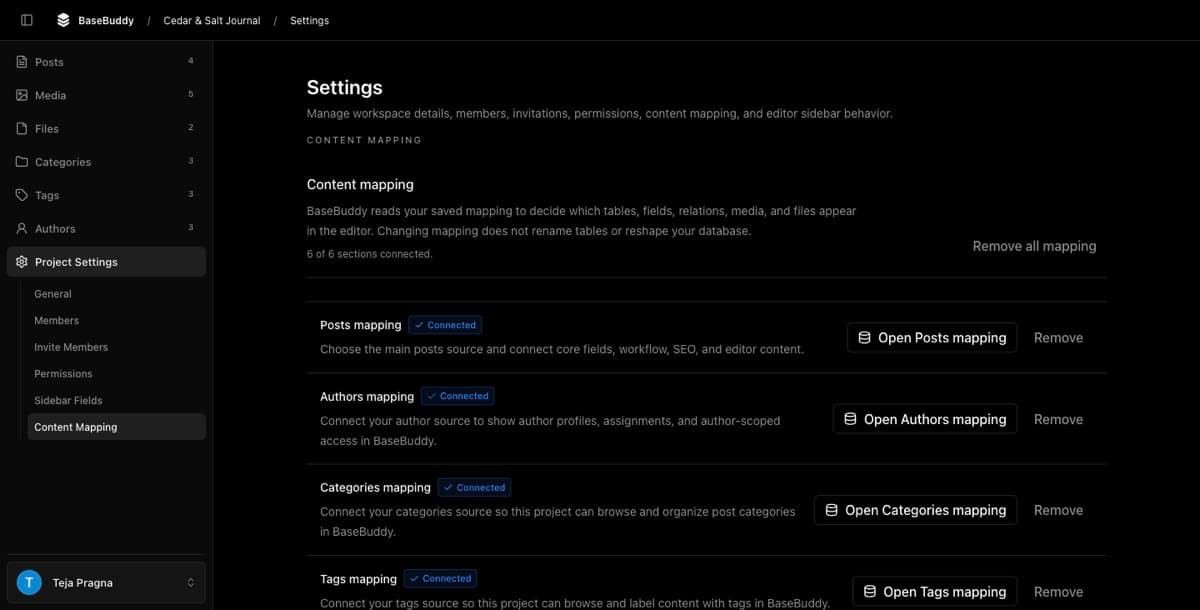
Open Posts Mapping
- Open your BaseBuddy project.
- Open
Settings. - Select
Mapping. - In
Posts mapping, clickOpen Posts mapping.
If you are starting from an unmapped project, the main editor may show Map Posts instead. That opens the same posts mapping flow.
Authors, categories, and tags depend on the posts source. Map Posts first; BaseBuddy should show those other sections as next steps only after the posts mapping is saved.
Choose The Posts Source
On Choose Posts Source, select the table where one row is one editable post. It might be called posts, articles, documents, stories, or something custom.
Choose a table with:
- one row per post
- a stable primary key
- a readable title or headline column
- fields BaseBuddy can write safely, such as direct columns or clear JSON paths
Click Continue after the posts table is selected. Changing the posts table later re-detects the remaining fields, so do this before spending time on the rest of the mapping.
Map Core Fields
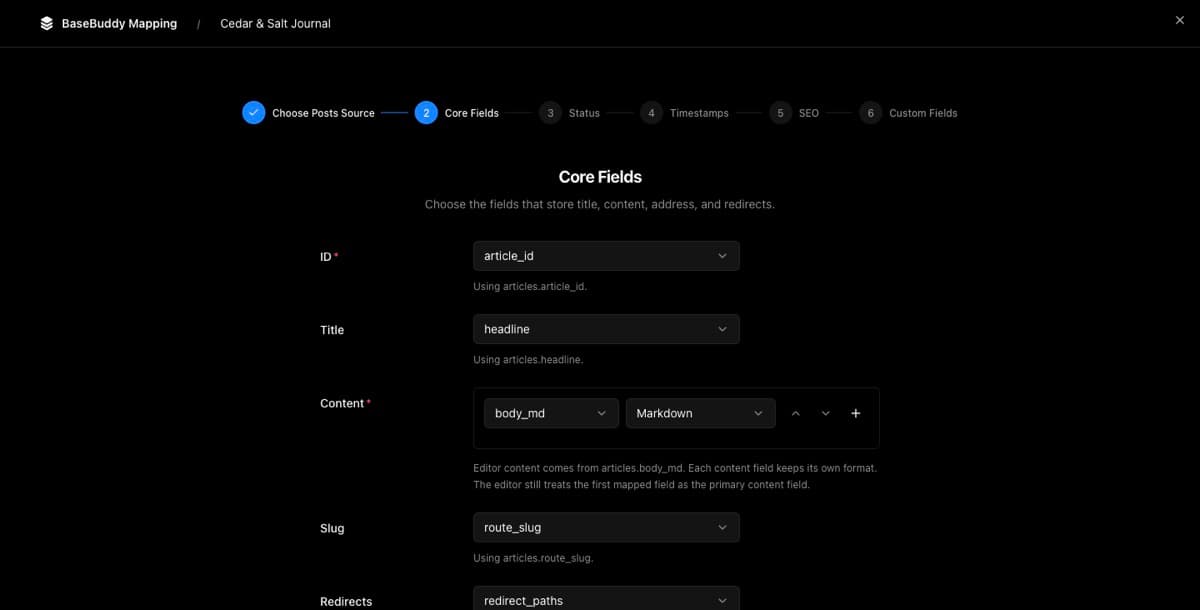
On Core Fields, map only what editors need to find, open, and safely edit one post.
| Mapping field | Common columns | What it controls |
|---|---|---|
ID | id, post_id, uuid | How BaseBuddy identifies one row |
Title | title, headline, name | The label shown in the posts list and editor |
Content | body, content, body_md, payload.body | The main editing field |
Slug | slug, route_slug, permalink | The post address used by your site |
Redirects | redirects, aliases, old_paths | Optional old paths for the post |
Excerpt | excerpt, summary, dek | Optional short summary |
Featured Image | featured_image, hero_image, cover_asset_id | Optional image reference |
For Content, choose the stored format beside the content column: HTML, Markdown, Plain Text, or Legacy JSON. BaseBuddy should preserve the mapped storage format. It should not silently convert Markdown, HTML, JSON, arrays, or relation shapes during a normal save.
If a value is in a JSON column, use the JSON path field when BaseBuddy shows it. If a value is in an array and you are mapping one item, use Item number. For redirects stored as an array, BaseBuddy uses the whole list of redirect paths.
If a field is generated, view-derived, trigger-managed, or unclear to patch, skip it or leave it read-only. Showing the value honestly is safer than pretending BaseBuddy can edit it.
Map Workflow And Metadata
Click Continue through the remaining posts mapping steps.
On Status, choose the column that stores draft, published, or archived state. If the column is boolean, choose the Status behavior that matches your app, such as True = Published, False = Draft. If it stores text or enum values, assign the values that mean Draft, Published, and Archived.
On Timestamps, map only the date fields your app actually uses:
Created AtPublished AtUpdated At
On SEO, map:
Meta TitleMeta DescriptionFocus Keyword
On Custom Fields, expose remaining post columns only when editors need them and the storage is safe to edit.
Normal Save writes dirty mapped fields only. Publish, Unpublish, and Archive are explicit actions, so status and publish-date fields should match how your app stores workflow state.
Save The Mapping
On the final posts mapping step:
- Click
Finish. - Review the
Save content mapping?confirmation. - Click
Save mapping.
The confirmation matters because team members with access to this project will be able to view and edit content from the sources you connected.
After the save finishes, BaseBuddy reloads the project from the latest saved mapping. That saved mapping becomes the source of truth for the posts list, editor fields, validation, and writes.
CLI path for repeatable mapping
An operator or agent can inspect the connected database and draft a mapping from the BaseBuddy app root:
bashpnpm basebuddy schema:inspect --schema public --table posts --json
pnpm basebuddy mapping:draft --schema public --table posts --json > mapping-draft.json
pnpm basebuddy mapping:explain --input mapping.json --json
For custom table or column names, pass a hints file:
bashpnpm basebuddy mapping:draft --schema public --table pages --hints mapping-hints.json --json > mapping-draft.jsonAfter the explanation matches the schema and editor behavior you want, validate and save it:
bashpnpm basebuddy mapping:validate --input mapping.json --json
pnpm basebuddy mapping:set --project docs --input mapping.json --binding-status ready --json
pnpm basebuddy mapping:get --project docs --json
Use this for repeatable setup, generated configs, agent-led installs, or moving a known mapping between environments. Do not save a draft blindly. If you do not know the table names, columns, JSON paths, relation shape, or storage format yet, start with schema:inspect or use the mapping UI, then explain the generated mapping before saving it.
For the full automation surface, including projects, users, members, permissions, sidebar layout, and storage metadata, read Agent CLI setup and CLI reference.
Check The Posts List
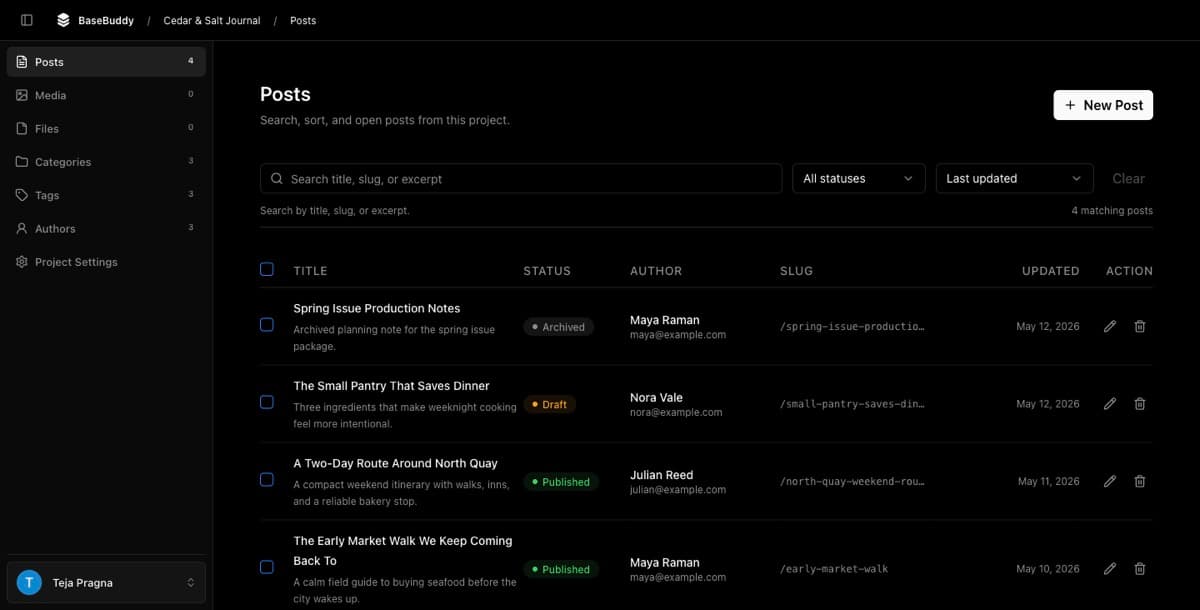
Open Posts. The list should show rows from the posts table you mapped.
Confirm that:
- titles are recognizable
- statuses match your database
- dates look like the expected create, update, or publish dates
- no unexpected table appears
Open And Test One Post
Open one safe post before inviting editors or relying on the mapping in production.
The editor should show the fields you mapped. Opening the post should only read data; it should not write to your database.
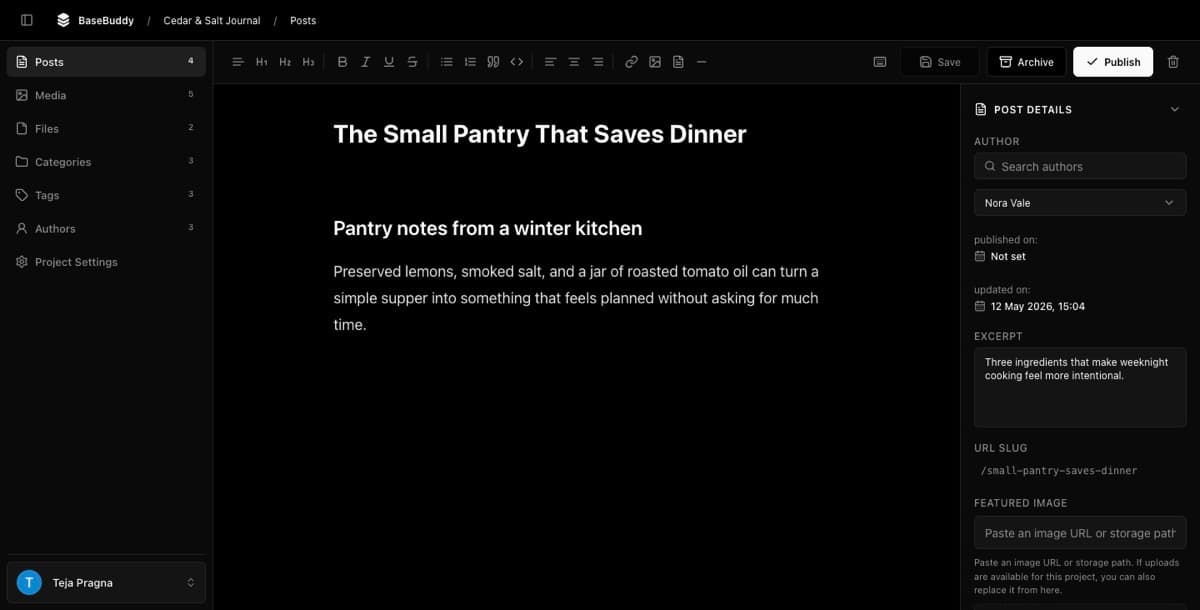
Make one harmless text change, such as a temporary excerpt update, then click Save.
| Test | Good result |
|---|---|
| Open the post | No database write happens |
| Save without changing anything | No database write happens |
Edit one harmless field and click Save | Only that mapped field changes |
Click Publish, Unpublish, or Archive | Only the explicit workflow action updates workflow fields |
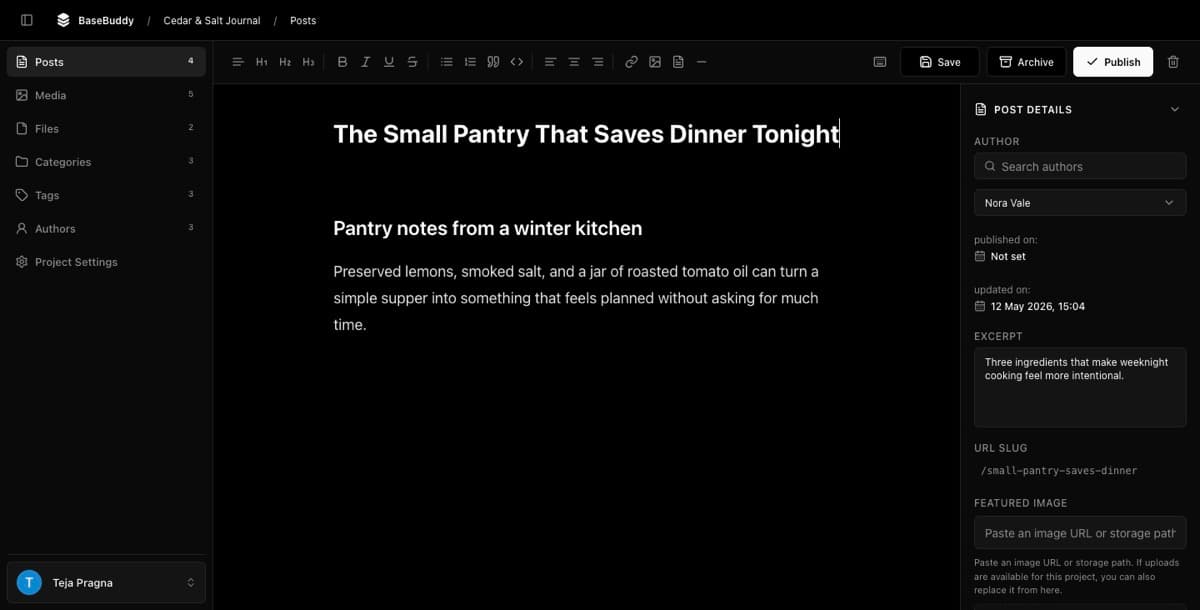
If anything unexpected changes, stop and review the mapping before broader use. The usual cause is a field mapped to the wrong column, a JSON path that is too broad, or storage that should stay read-only.
Next Steps After Posts Mapping
After the posts list and one post editor work, map related content from Project Settings -> Content Mapping.
Keep these as separate follow-up steps:
- Map
Authorswhen posts have bylines, owner assignments, or author-scoped access. See How to set up authors on BaseBuddy. - Map
CategoriesandTagswhen posts need taxonomy fields, filters, or labels. See Mapping fields and relations. - Map Markdown-specific content carefully if your main content column stores Markdown. See How to map markdown content safely.
Common issues
If the posts table does not appear, check the database connection, schema name, and database permissions. BaseBuddy cannot map tables it cannot see.
If a field shows as read-only, check whether it is generated, view-derived, trigger-managed, unsupported, or missing a safe write path. Only make it editable when you know exactly how BaseBuddy should patch it. See How to fix a field showing as read-only.
If the posts list or editor loads the wrong values, reopen Project Settings -> Content Mapping -> Open Posts mapping and check the source table and field selections before making more edits.