How to configure S3-compatible storage for media and files
Add env-backed S3-compatible storage credentials, map Media and Files storage, and verify uploads safely.
Use this guide when your BaseBuddy project should use an S3-compatible bucket for the Media library, the Files library, or both.
There are two layers to configure:
- Add storage credentials to your BaseBuddy app environment.
- Save the project mapping that tells BaseBuddy which bucket and provider settings to use.
Credentials stay in environment variables. The project mapping stores the storage provider, bucket name, endpoint, region, and public URL base. It does not store access keys.
Before you start
Create the bucket in your storage provider first. BaseBuddy can work with S3-compatible storage such as AWS S3, Cloudflare R2, Backblaze B2, DigitalOcean Spaces, MinIO, or another provider that supports S3-compatible requests.
This guide does not cover provider account setup, bucket creation, IAM policy design, or custom-domain setup. Use your provider's docs for those steps, then return here with the bucket name and connection values.
If you want Supabase Storage instead of S3-compatible storage, use How to configure Supabase Storage buckets for media and files.
Add storage credentials to env
Add the S3-compatible access key pair to the environment where BaseBuddy runs.
Use this shared pair for S3-compatible media and file storage:
envBASEBUDDY_S3_ACCESS_KEY_ID=
BASEBUDDY_S3_SECRET_ACCESS_KEY=
Both values must be present together. If you set an access key without its matching secret key, or a secret key without its matching access key, diagnostics mark S3-compatible storage as incomplete.
BaseBuddy uses one shared S3-compatible credential pair for the install. If Media and Files need completely separate S3 accounts, run separate BaseBuddy installs or wait for a future per-library credential adapter instead of putting extra keys into app data.
After changing env values, restart or redeploy BaseBuddy so the app reads the new configuration.
For the broader env reference, see Configuration.
Check media storage readiness
Run setup checks after changing storage env:
shpnpm setup:checkOr open setup diagnostics from BaseBuddy and check Environment values for missing or incomplete media storage keys.
Media storage is optional, so missing S3-compatible credentials are okay when no project uses S3-compatible uploads. Partial pairs make S3 unavailable. Remove a half-filled pair or complete it before continuing.
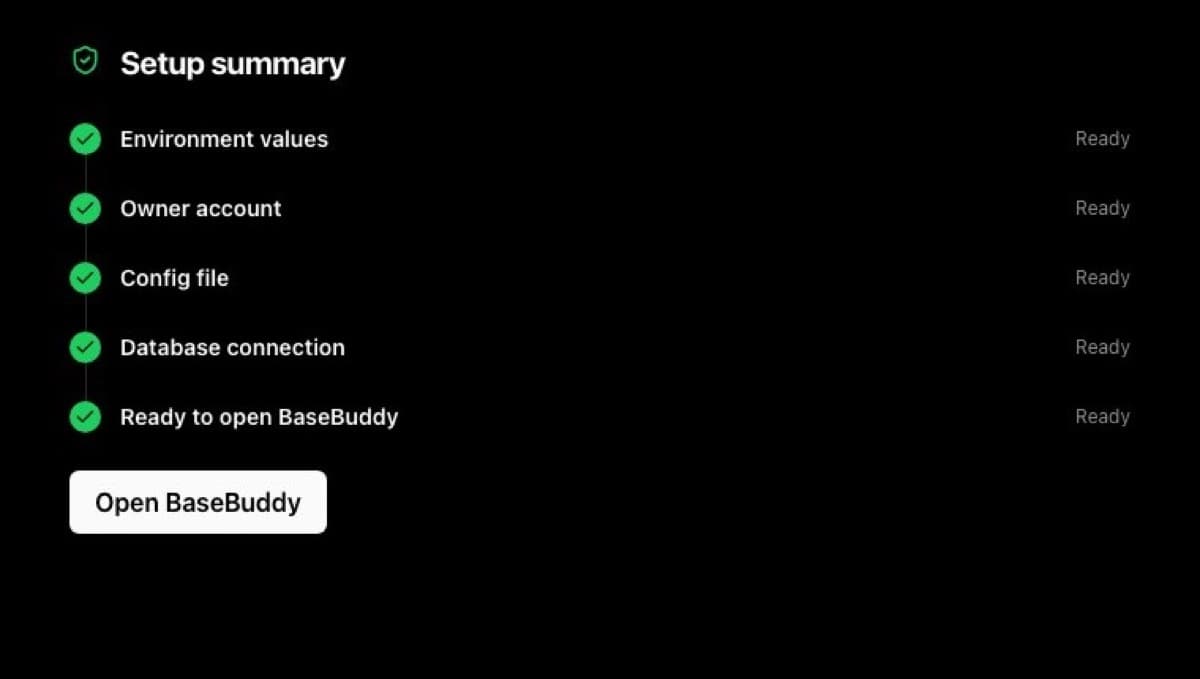
For help with failed diagnostics, see How to fix failed setup checks.
Map Media storage
Use this section when images should use S3-compatible storage.
- Open the project in BaseBuddy.
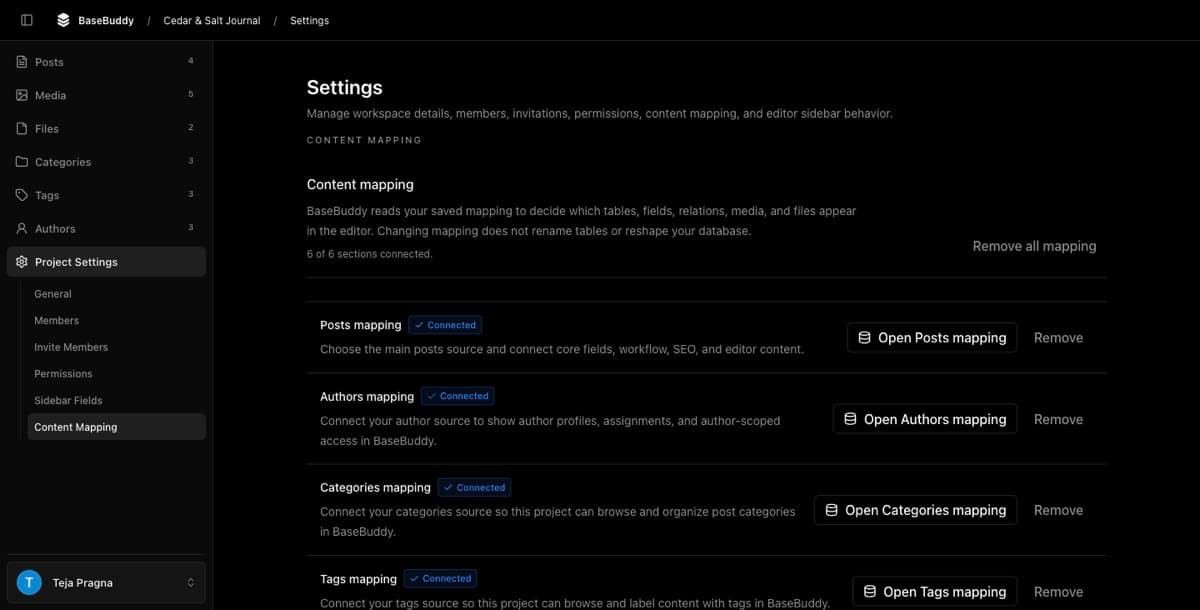
- Open Project Settings.
- Open Mapping.
- Find Media mapping and open it.
- In Media Storage, set Storage Provider to S3-Compatible Storage.
- Enter the Bucket Name.
- Enter the Region.
- Enter the Endpoint URL when your provider is not standard AWS S3.
- Enter Public URL Base only if this bucket is public or delivered through a public custom domain.
- Click Save mapping.
For Cloudflare R2, use auto in Region. For standard AWS S3, you can leave Endpoint URL empty and use the AWS region. For providers such as Cloudflare R2, Backblaze B2, DigitalOcean Spaces, MinIO, and other S3-compatible services, set Endpoint URL to the provider endpoint.
Only use Public URL Base for public delivery, such as https://cdn.example.com. If the bucket is private, leave it blank and let BaseBuddy use signed URLs or your protected delivery route.
Map Files storage
Use this section when documents, PDFs, spreadsheets, archives, or other non-image downloads should use S3-compatible storage.
- Open the project in BaseBuddy.
- Open Project Settings.
- Open Mapping.
- Find Files mapping and open it.
- In Files Storage, set Storage Provider to S3-Compatible Storage.
- Enter the Bucket Name.
- Enter the Region.
- Enter the Endpoint URL when your provider is not standard AWS S3.
- Enter Public URL Base only if this bucket is public or delivered through a public custom domain.
- Click Save mapping.
You can use the same bucket as Media when your storage policy allows it, or a separate bucket when files need different access, lifecycle rules, or delivery behavior.
Allow direct uploads from BaseBuddy
BaseBuddy prepares direct uploads with presigned PUT URLs. The browser uploads the selected file to the storage provider using that prepared URL.
Most S3-compatible providers require CORS or allowed-origin settings for browser uploads. Add your BaseBuddy app origin, such as https://cms.example.com, to the provider-side CORS settings if uploads fail before BaseBuddy can finish the upload.
Keep the rule as narrow as your provider allows. BaseBuddy needs browser uploads from your app origin, not public access to every origin.
For upload limits, file types, and request body limits, see Caps and rate limits and Media and files.
Verify Media and Files
After the mapping is saved, test each library you configured.
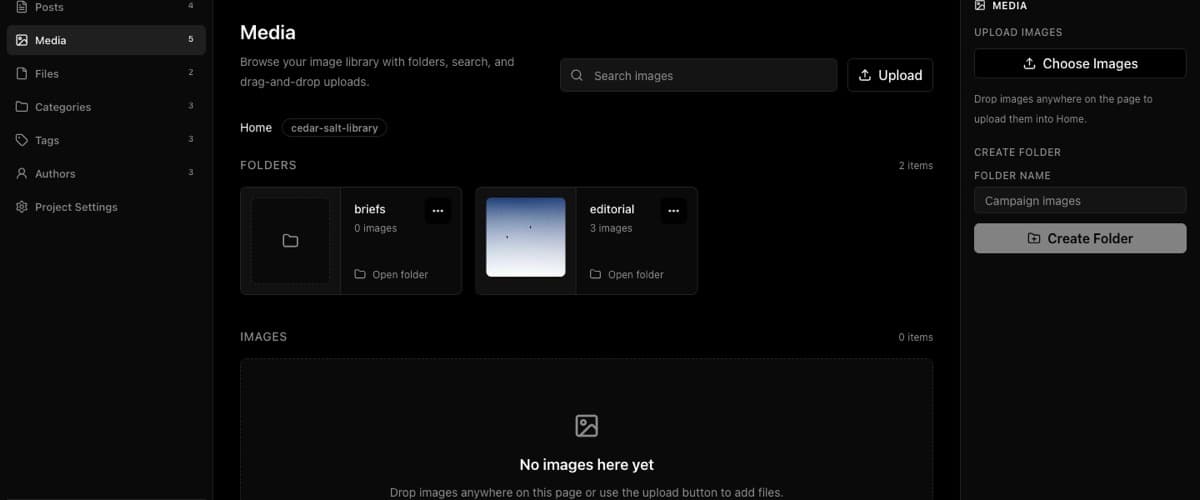
For Media:
- Open Media in the project sidebar.
- Upload a small JPEG, PNG, WebP, GIF, or AVIF image.
- Confirm it appears in the library.
- Open the image and confirm the URL behavior matches your public or signed-url setup.
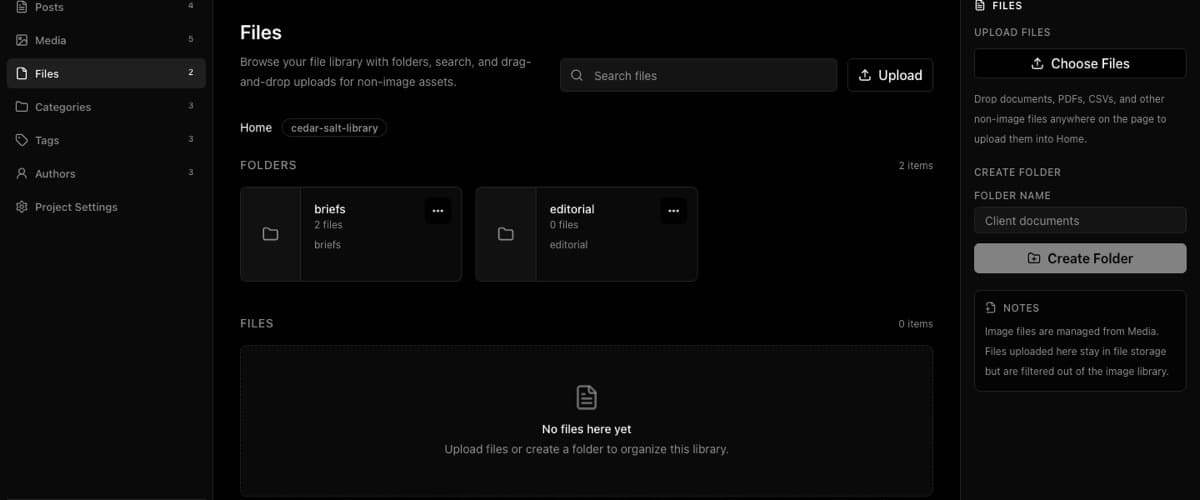
For Files:
- Open Files in the project sidebar.
- Upload a small PDF, document, spreadsheet, data file, or archive.
- Confirm it appears in the library.
- Open the file and confirm the URL behavior matches your public or signed-url setup.
For day-to-day upload workflows, see How to upload and manage images in the Media library and How to upload and manage files in the Files library.
Troubleshooting
| Problem | What to check |
|---|---|
| Setup checks flag S3-compatible storage | Make sure BASEBUDDY_S3_ACCESS_KEY_ID and BASEBUDDY_S3_SECRET_ACCESS_KEY are both set, then restart or redeploy BaseBuddy |
| Mapping will not save | Make sure Bucket Name is set and either Endpoint URL or Region is set |
| R2 uploads fail | Use auto for Region and confirm the R2 endpoint is in Endpoint URL |
| Non-AWS provider uploads fail | Confirm Endpoint URL, bucket name, access policy, and provider CORS settings |
| Upload starts but fails in the browser | Add the BaseBuddy app origin to provider-side CORS or allowed-origin settings |
| URLs should be private but look permanent | Remove Public URL Base and use signed URLs or a protected delivery route |
Keep storage safe
Do not paste S3-compatible access keys into BaseBuddy fields, project rows, screenshots, issues, or support messages.
The browser never receives S3-compatible secrets. Upload and browse requests go through BaseBuddy APIs and the saved project mapping.
Managing Media or Files does not publish, unpublish, archive, or save a post. Uploading, moving, or deleting storage objects is separate from post editing. Normal post Save still writes only dirty mapped fields.
For the broader security model, see Security.