How to fix media or file upload failures
Troubleshoot missing upload controls, rejected files, size limits, storage mapping, credentials, CORS, and host request limits for Media and Files uploads.
Use this guide when an upload fails from Media or Files, when the upload button is missing, or when BaseBuddy rejects a selected file before it reaches storage.
This page covers upload failures only. If an image or file uploaded successfully but later opens as a broken URL, expired signed URL, or missing asset on your site, use How to fix broken image or file URLs.
Start with the symptom
| Symptom | Most likely area to check first |
|---|---|
| Upload, Choose Images, or Choose Files is missing | Library mapping, upload credentials, or your project access |
| The file picker accepts the file, then upload fails | File type, file size, batch size, storage credentials, or provider access |
| Upload fails immediately in the browser | S3-compatible CORS, direct-upload access, or a host/proxy request limit |
| Supabase bucket uploads fail | Bucket name, bucket access, Supabase env values, or service-key access |
| S3-compatible uploads fail | Endpoint, region, bucket name, complete env credential pair, restart, or CORS |
| Upload works locally but fails after deployment | Reverse proxy, host body-size limit, app origin, or deployed env values |
BaseBuddy uploads through the saved Media Storage or Files Storage mapping. It does not use per-project storage secrets, and it does not guess another bucket when the saved mapping is wrong.
Use the right library
Open the library that matches the asset you are uploading.
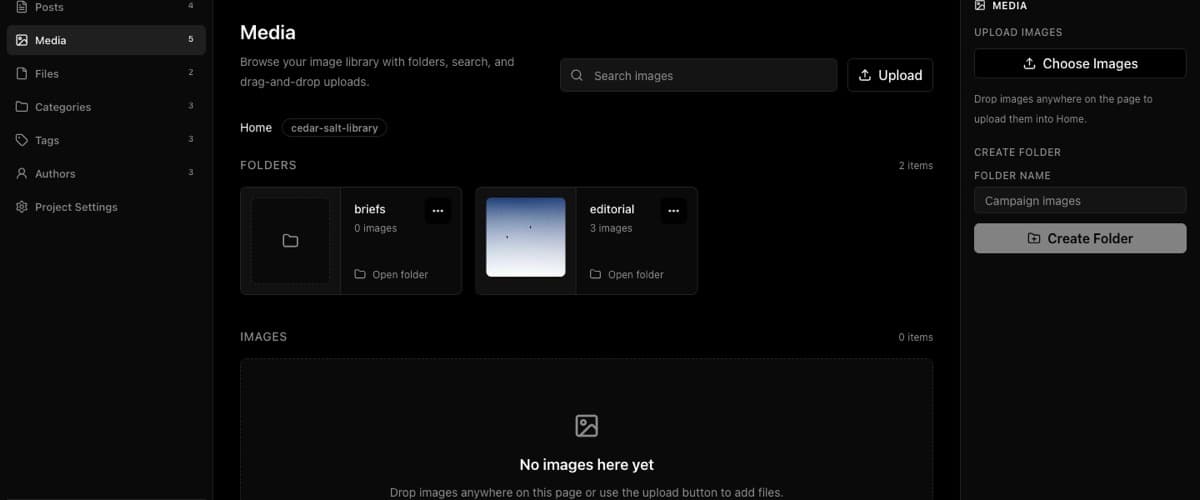
Media is for images. It accepts AVIF, GIF, JPEG, JPG, PNG, and WebP. SVG is blocked because SVG can contain script-like behavior and external references.
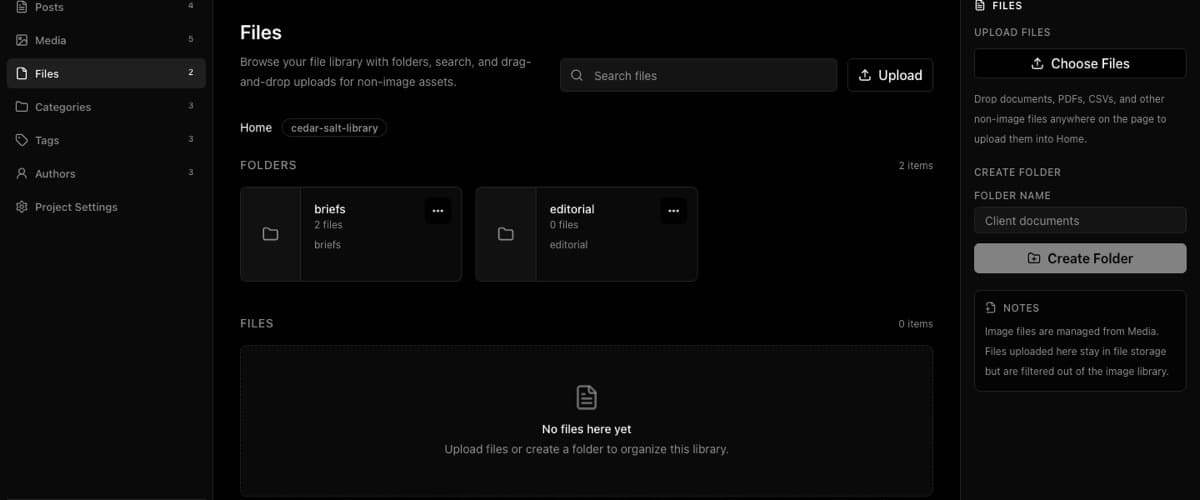
Files is for non-image downloads and attachments. It accepts csv, doc, docx, gz, json, md, pdf, ppt, pptx, rtf, tar, txt, xls, xlsx, xml, and zip.
Files rejects image-like content, even if the extension is disguised. PDFs are valid file uploads, but the file must have real PDF contents.
For normal upload steps, see How to upload and manage images in the Media library and How to upload and manage files in the Files library.
Check type, size, batch, and proxy limits
Try one small known-good upload first:
- Open Media or Files.
- Stay in Home.
- For Media, choose one small JPG or PNG image.
- For Files, choose one small PDF or TXT file.
- Upload only that one file.
If one small file works, the original upload was probably blocked by type, size, batch count, or request-size limits.
| Area | Limit |
|---|---|
| Media image | 10 MB per image |
| Media batch | 10 images at a time |
| Media multipart API body | 60 MB when that API path is used |
| File library file | 25 MB per file |
| File batch | 10 files at a time |
| File multipart API body | 130 MB when that API path is used |
Your hosting provider, reverse proxy, or load balancer can reject the request before BaseBuddy sees it. If uploads fail with a 413 response, fail only in production, or fail before BaseBuddy shows a helpful error, raise the host/proxy body-size limit to match the uploads you support.
For the full limits reference, see Caps and rate limits.
Check access and the upload button
Upload controls appear only when the project has a managed storage library and your account can manage that library. Users without manage access can still browse and open available assets, but they cannot upload, move, or delete objects.
If Upload, Choose Images, or Choose Files is missing:
- Confirm you are in the right project.
- Open Media or Files from the project sidebar.
- Check whether the library loads with the expected bucket name.
- Ask an owner or admin to confirm your project access.
- Ask an owner to check the saved mapping and media storage environment values.
Uploading, moving, and deleting assets are storage actions. They do not save a post, publish a post, unpublish a post, archive a post, or rewrite old post bodies.
For the editing rules behind that separation, see Safe editing model.
Check the saved storage mapping
The saved mapping is the runtime truth. If BaseBuddy is mapped to the wrong provider, bucket, endpoint, or region, uploads fail or go to a different place than you expect.
- Open Project Settings.
- Open Mapping.
- For image uploads, open Media mapping and check Media Storage.
- For file uploads, open Files mapping and check Files Storage.
- Confirm Storage Provider, Bucket Name, and any provider-specific fields match the storage system you actually use.
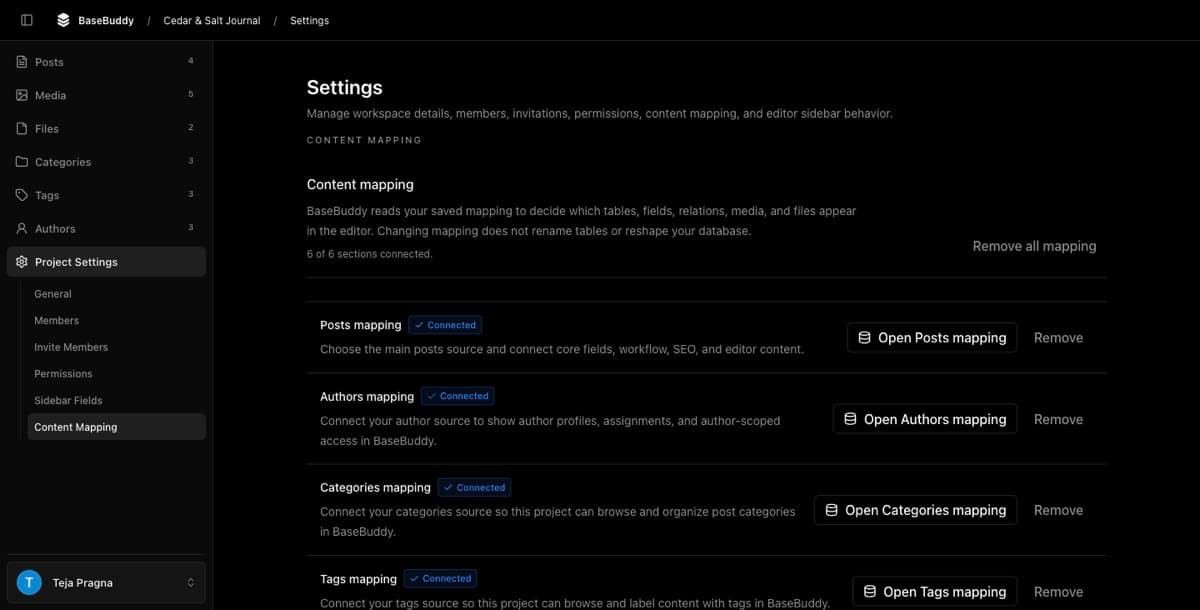
If the mapping is missing or unsafe, finish the storage mapping before trying more uploads. BaseBuddy should surface unsupported or unsafe storage as unavailable or read-only instead of silently writing somewhere else.
For the storage model, see Media and files.
Check Supabase Storage
Use this section when Storage Provider is Supabase Storage Bucket.
- Open the Supabase project that stores the content bucket.
- Open Storage.
- Confirm the mapped bucket exists.
- Confirm the bucket access model matches how you intend to serve assets.
- Confirm BaseBuddy has complete Supabase env values for the media bucket project.
- Restart or redeploy BaseBuddy after changing env values.
- Return to BaseBuddy and try one small upload in Home.
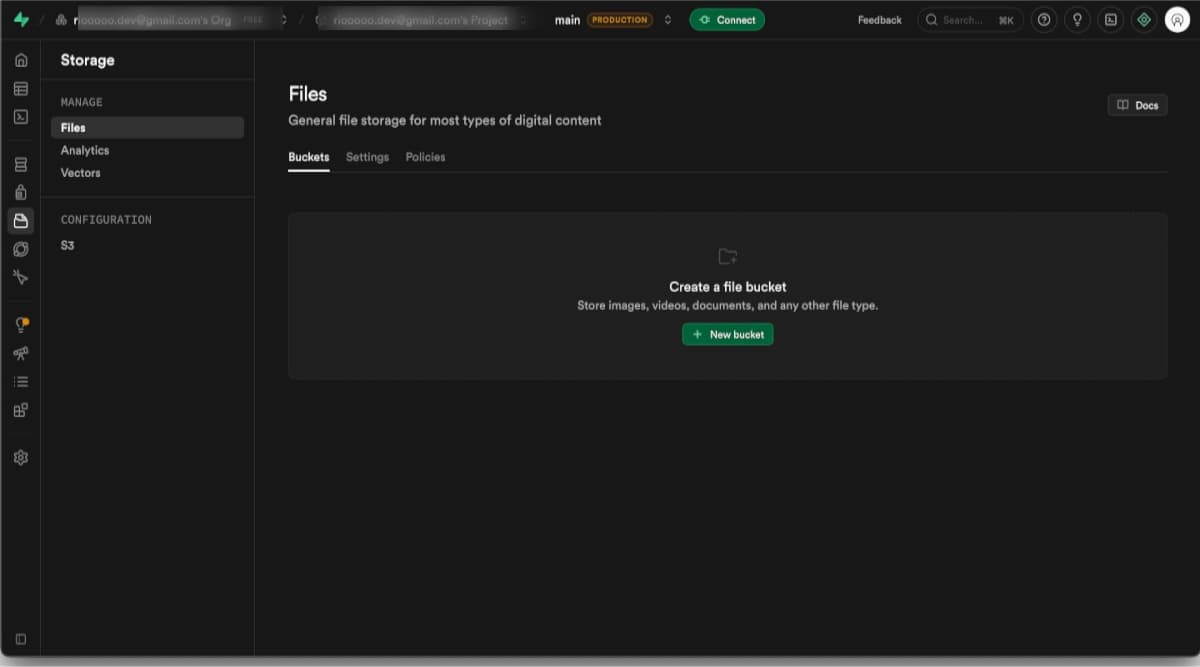
For private Supabase buckets, BaseBuddy needs server-side storage access to browse and manage objects safely. If a private bucket can be browsed but upload controls are missing, check the environment-backed Supabase secret key and the user's manage access.
Use How to configure Supabase Storage buckets for media and files for the full setup path.
Check S3-compatible storage
Use this section when Storage Provider is S3-Compatible Storage.
Check the mapping first:
- Bucket Name is exact.
- Region is set. For Cloudflare R2, use
auto. - Endpoint URL is set when the provider is not standard AWS S3.
- Public URL Base is set only when the bucket or CDN is meant to be public.
Then check env-backed credentials. Each credential pair must be complete:
envBASEBUDDY_S3_ACCESS_KEY_ID=
BASEBUDDY_S3_SECRET_ACCESS_KEY=
If you set one side of the pair without the other, S3-compatible storage is incomplete and uploads cannot be trusted. Complete the pair or remove both values, then restart or redeploy BaseBuddy.
BaseBuddy uses one shared S3-compatible credential pair for the install. Media and Files can use different bucket names in mapping, but they use the same env-backed S3 access key pair.
BaseBuddy prepares direct uploads, the browser uploads the file to the prepared storage URL, and then BaseBuddy completes the upload through its own API. For S3-compatible providers, browser direct uploads usually require CORS or allowed-origin settings. Add your BaseBuddy app origin, such as https://cms.example.com, to the provider's CORS settings.
Use How to configure S3-compatible storage for media and files for provider-specific setup notes.
Run setup checks
If credentials changed, uploads fail in more than one project, or production behaves differently from local development, run setup checks before changing mapping again.
shpnpm setup:checkYou can also open setup diagnostics in the browser and review Environment values for missing or incomplete media storage keys.
Fix the first failed section, restart if you changed .env, and run the check again.
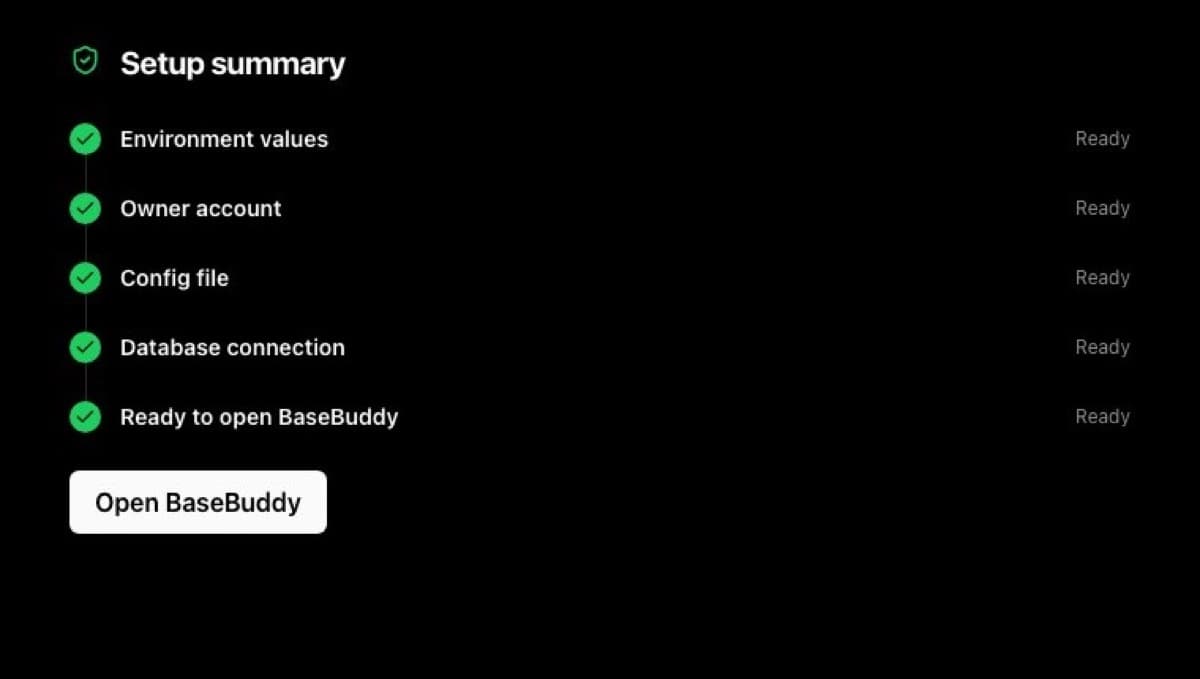
For the full diagnostic flow, see How to fix failed setup checks. For env details, see Configuration.
Verify the upload
After each fix, test the smallest complete flow:
- Open Media or Files.
- Stay in Home.
- Upload one small supported file.
- Confirm the uploaded item appears in the library.
- Open the uploaded item from BaseBuddy.
- Insert it into a post only after the library upload works.
For inserting uploaded assets into content, use How to insert images into a post or How to insert files or downloads into a post.
If the asset uploads and opens from BaseBuddy but a saved post or frontend URL is broken later, switch to How to fix broken image or file URLs.
Escalate safely
If you still need help, share the smallest safe report:
- Which library failed: Media or Files.
- The file extension, file size, and batch count.
- Whether one small known-good file works in Home.
- Whether the provider is Supabase Storage or S3-compatible storage.
- The setup check section that fails, if any.
- Redacted browser console or server log messages.
Do not share storage secrets, Supabase keys, database URLs, signed URLs, cookies, private bucket paths, or real user files. For the broader handling rules, see Security.