How to onboard and get started with a BaseBuddy project
Create your first project, save a small content mapping, verify one harmless edit, and invite users after the project is safe to use.
Use this guide after setup checks pass and you are ready to connect BaseBuddy to real content in an existing Supabase or Postgres database.
The goal is a safe first rollout: create one project, map the smallest useful posts area, prove one harmless save, and invite users only after the mapping behaves the way you expect.
Before you start
Make sure BaseBuddy setup checks are passing. If setup is still failing, fix that first with How to fix failed setup checks.
Choose a small content area for the first project. A posts, articles, stories, documents, or pages table is usually a good start when one row represents one editable item.
BaseBuddy projects sit around your existing database structure. Creating a project does not create, rename, reshape, or migrate your content tables.
Create the project
- Sign in to BaseBuddy.
- Open
/projects. - Enter a clear Project name.
- Enter a stable Project address.
- Wait until BaseBuddy says This project address is available.
- Select Create project.
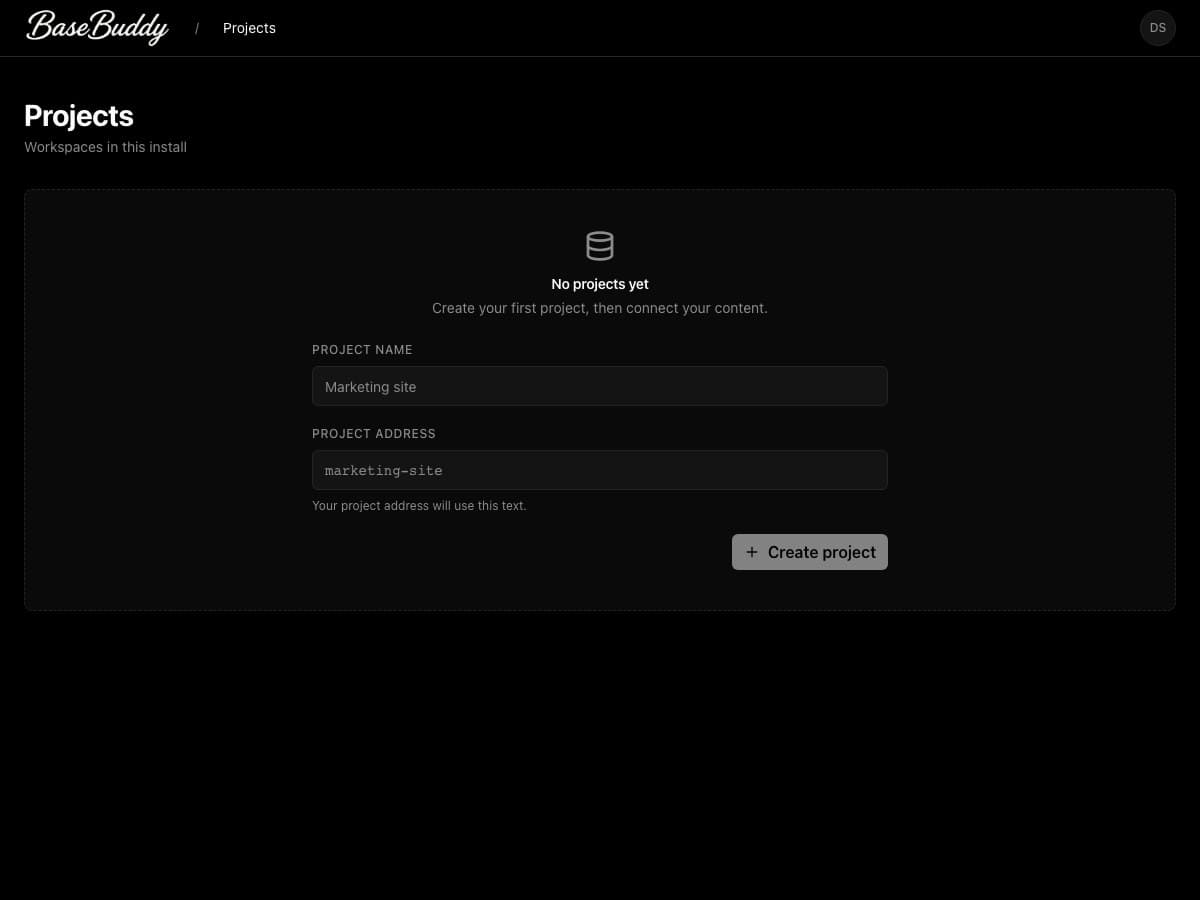
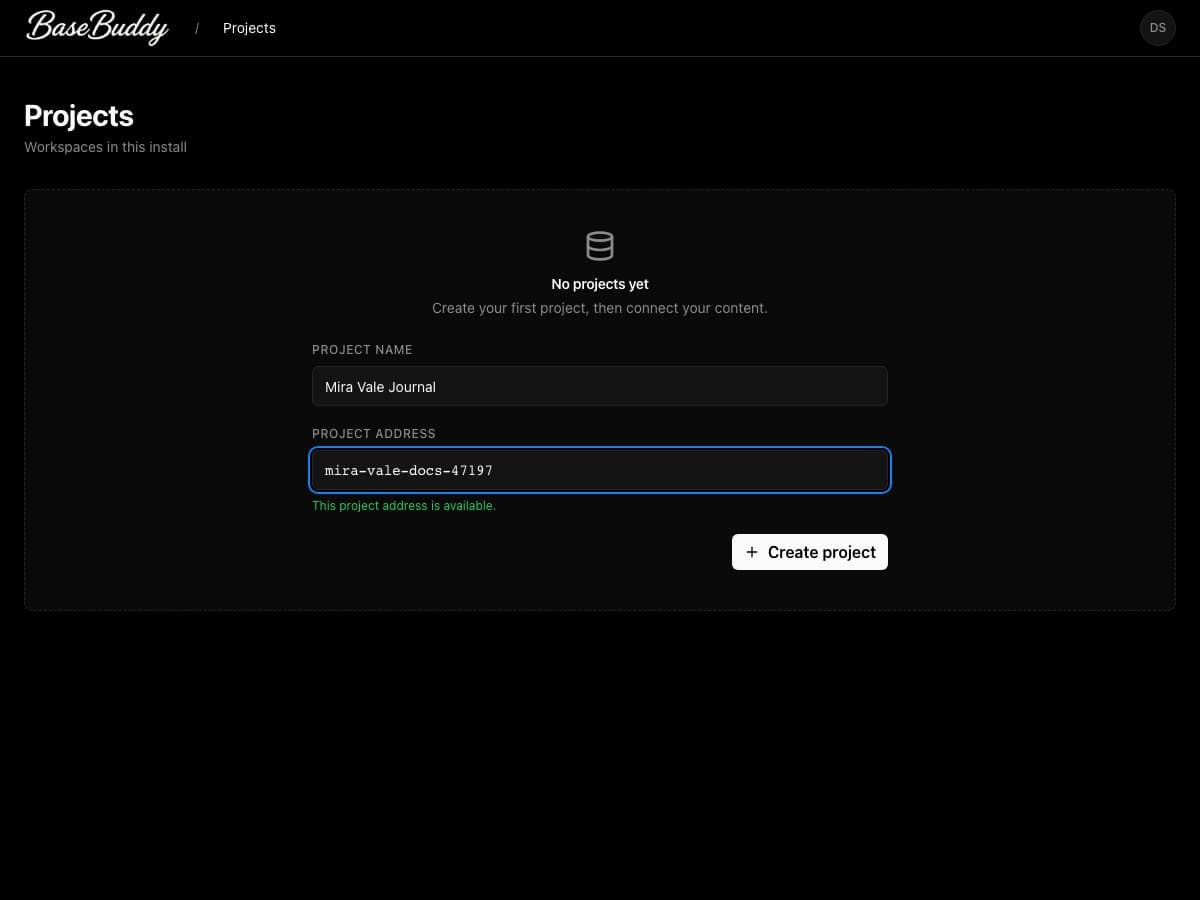
After the project is created, BaseBuddy opens the project shell and seeds an initial mapping draft. The project is not ready for editors yet, because the editor still needs a saved mapping before it can safely read and write content.
For the focused project-creation task, use How to create a BaseBuddy project.
Map the smallest useful posts area
If this is a new project, select Map Posts from the project shell.
If you are returning to the project later, open Project Settings -> Content Mapping, then select Open Posts mapping.
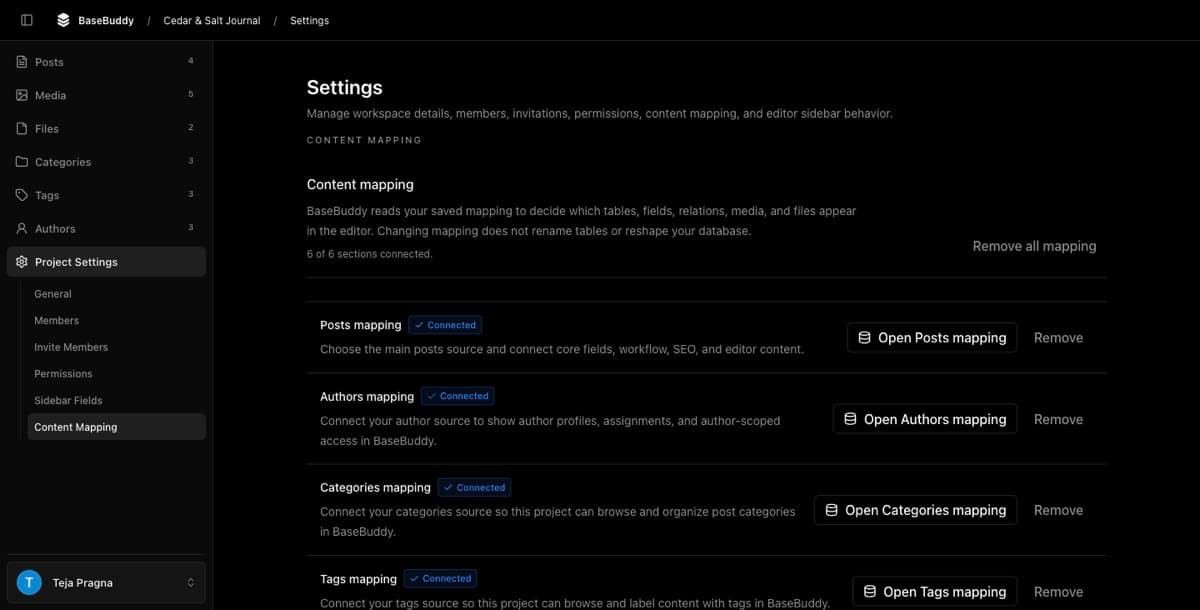
In the mapping wizard:
- On Choose Posts Source, select the table where one row is one post, article, page, story, or document.
- On Core Fields, map only the fields needed to recognize and edit one item, such as title, content, slug or address, status, and excerpt.
- Leave generated, computed, trigger-owned, unfamiliar, broad JSON, relation, media, file, or workflow-sensitive fields out of the first test unless you already know the write path is safe.
- Continue through the remaining mapping steps without adding extra complexity.
- When BaseBuddy asks Save content mapping?, review the warning and select Save mapping.
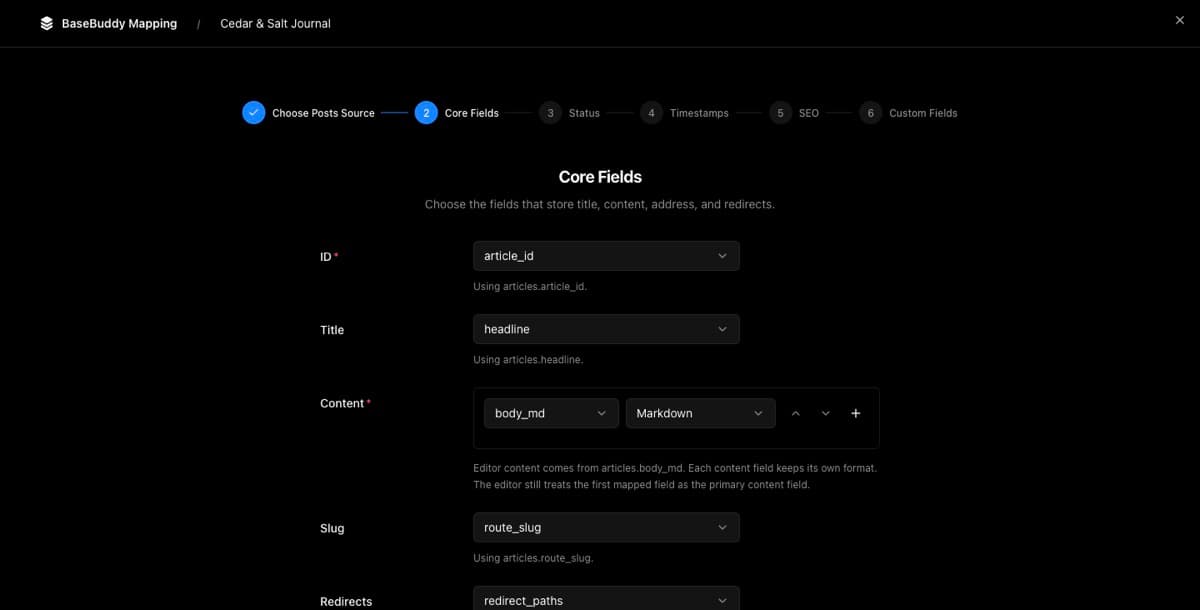
The saved mapping is the runtime truth for the project. BaseBuddy reads that mapping to decide which tables load, which fields appear, which controls editors see, and exactly where a save should write.
For deeper mapping help, use How mapping works on BaseBuddy and How to map a posts table.
Prove one safe save
After saving the mapping, open Posts and choose one harmless item. Use a draft, internal test record, old unpublished article, or another row where a small text edit is easy to restore.
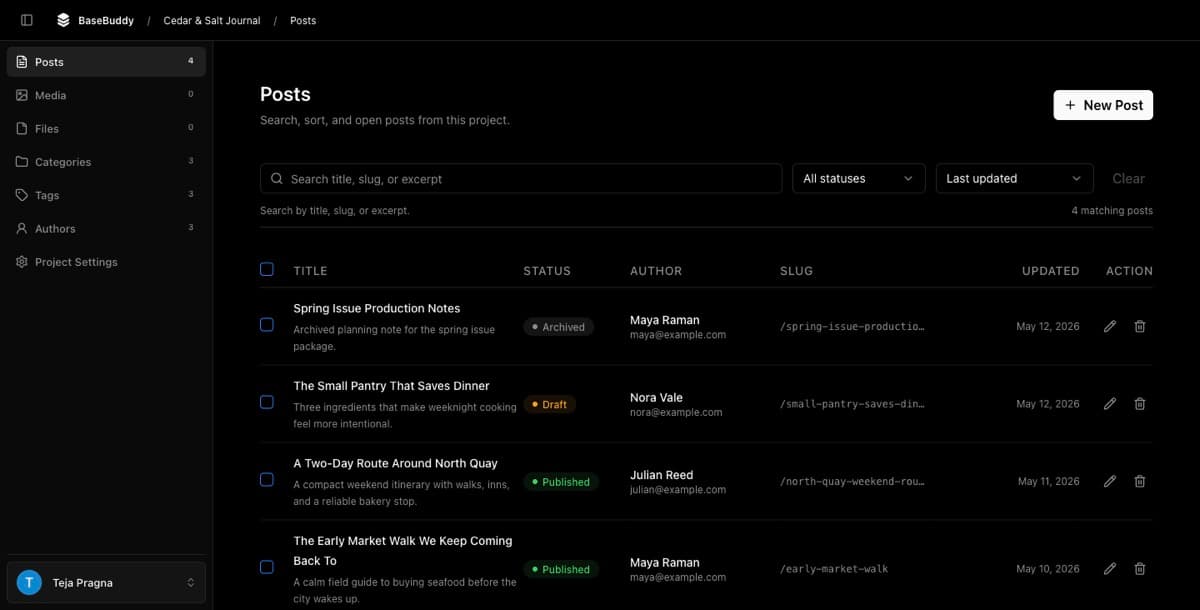
Open the item and review it without changing anything. Opening a record should not update the database.
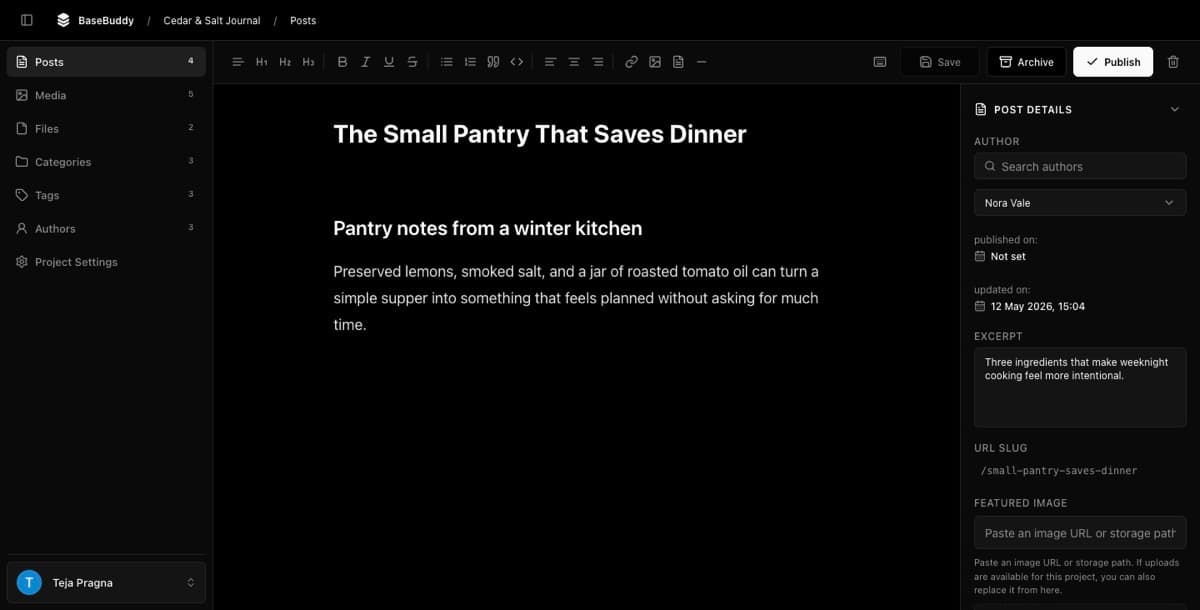
Now test one normal save:
- Edit one harmless text field, such as excerpt, summary, internal note, SEO description, or draft body text.
- Do not change status, authors, categories, tags, media, files, redirects, or relations in the same test.
- Select Save.
- Reopen the item in BaseBuddy and confirm the edited value is still there.
- Inspect the same row in Supabase or your database client.
- Confirm only the edited mapped field changed, aside from any normal trigger-owned audit fields your database updates.
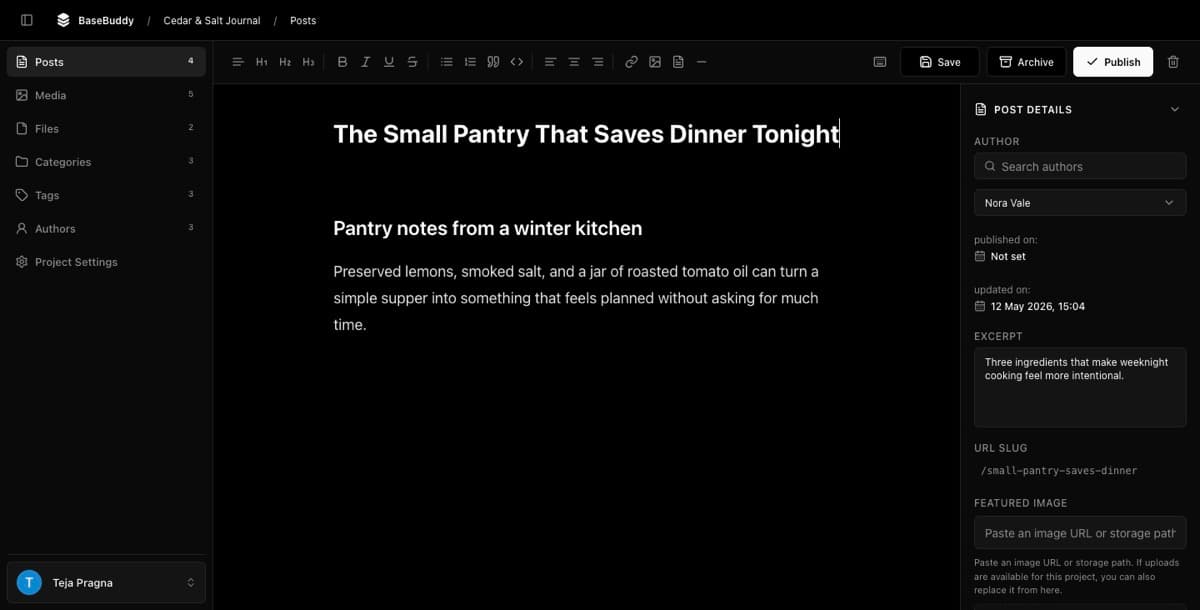
Normal Save writes dirty mapped fields only. It should not publish, unpublish, archive, rewrite unrelated JSON, replace relation rows, or silently convert Markdown, HTML, arrays, or other storage shapes.
Use How to safely edit your first post for the full verification checklist.
Test workflow actions only if you need them
Publish, Unpublish, and Archive are explicit actions. They are separate from normal Save because they can update mapped workflow fields such as status or published date.
Test workflow actions one at a time only after the first ordinary save is correct. If editors will not use workflow actions yet, leave them out of the first rollout.
For the workflow-specific path, use How to publish, unpublish, and archive content.
Invite users after verification
Invite users only after the project passes the first mapping and save test.
- Open the project.
- Go to Project Settings.
- Open Invite Members.
- Enter the user's email address.
- Choose the least access the person needs.
- Select Create invite link.
- Send the invite link through your team's normal trusted channel.
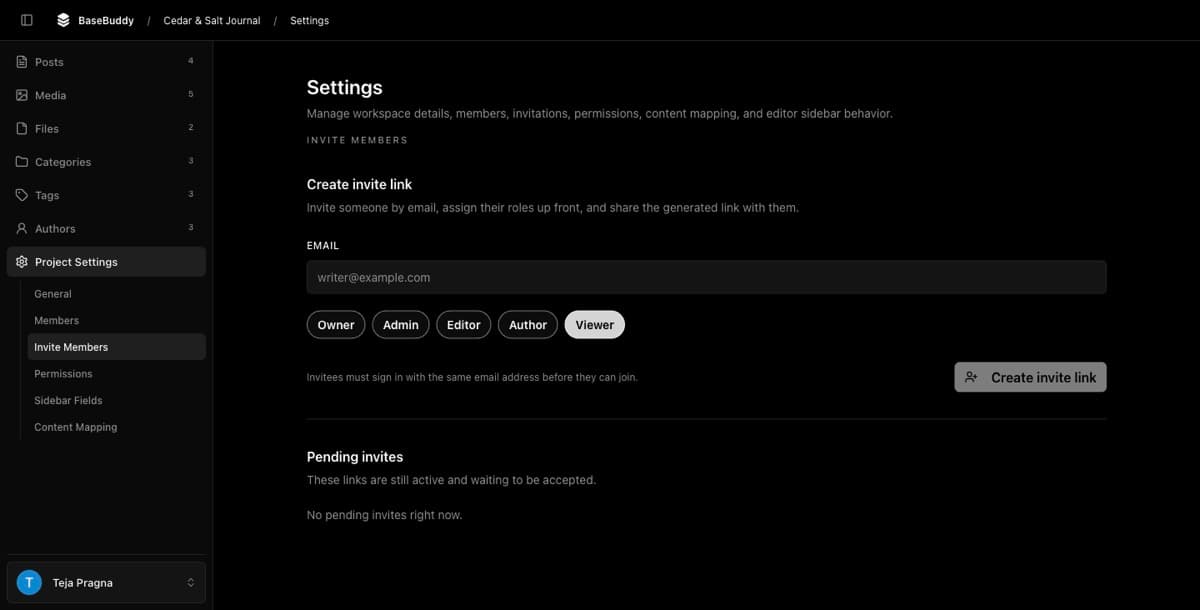
For role choices, author scopes, pending invites, and invite expiry, use How to invite users to your BaseBuddy project.
Verify the project is ready
A first project is ready for editors when these checks pass:
| Check | Ready result |
|---|---|
| Project | The project appears on /projects with the expected name and address |
| Mapping | Posts opens from the saved mapping |
| Content list | The expected rows load |
| Open item | Viewing a record does not write to the database |
| Normal save | One harmless edit changes only the dirty mapped field |
| Read-only fields | Unsafe or unsupported fields cannot be edited |
| Workflow actions | Publish, unpublish, or archive work only when intentionally selected |
| Invites | Users receive only the access they need |
If any check fails, stop before inviting more users. Review the saved mapping, make risky fields read-only or unsupported, and repeat the harmless save test.
Related guides
- How to create a BaseBuddy project
- How mapping works on BaseBuddy
- How to map a posts table
- How to safely edit your first post
- How to invite users to your BaseBuddy project